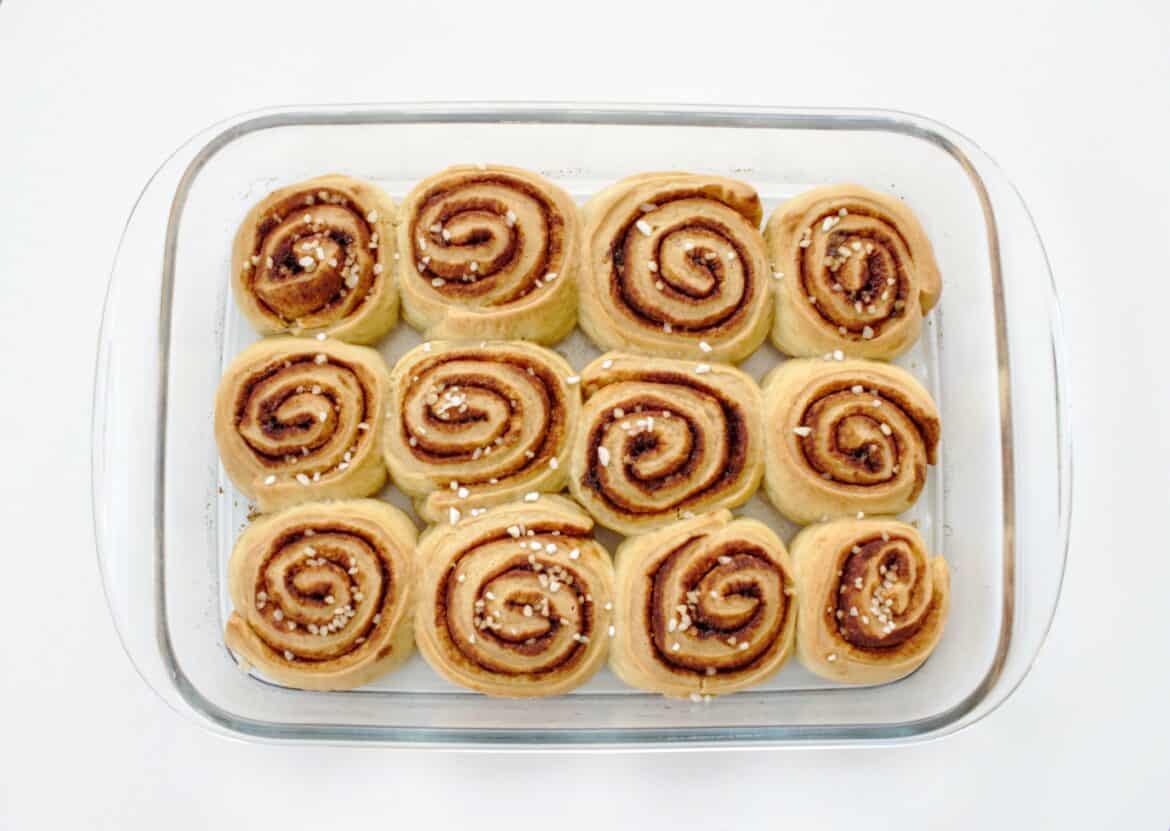
If you have tried cinnamon rolls from IKEA and wanted to make them, then this cinnamon rolls recipe is perfect. What more, you can make them fresh at your whim instead of the frozen and warmed ones from IKEA.
Cinnamon rolls are a favourite of my daughter that whenever we shopped at IKEA, she wanted to eat them. Now that she is older, she has been finding recipes to make her favourites and she pulled out one similar such from the internet.
The smell of freshly baked cinnamon rolls definitely smells of Christmas, so why not bake them for Christmas breakfast. You can also make them using sourdough instead of yeast. Sourdough just needs a little planning one day ahead of time.
HEALTHY AND LOW ON SUGAR RECIPE
Most of the recipes I came across were with a lot of sugar, because they are iced with sugar. But, I wanted a recipe which was healthy and also low on sugar. My daughter is also gluten intolerant and we don’t eat eggs. So in essence, this easy low sugar cinnamon rolls recipe is modified to suit our dietary needs.
We used spelt for this cinnamon rolls recipe because spelt is low on gluten and the gluten in spelt is easier to digest than wheat. You don’t need to be an expert baker, because the recipe worked even at the first attempt from my daughter. She is learning to bake in her school and accompanies me occasionally while I bake. Lets jump to this easy and fool proof recipe.
TIPS TO MAKE CINNAMON ROLLS
- Combine warm milk together with the melted butter, sugar and yeast in a large bowl. Allow to stand for 10 minutes, until frothy to activate the yeast. Or you can also mix the yeast into the flour as we did in the video. Make sure you don’t combine the salt next to the yeast. As the salt will kill the yeast and the dough will not rise.
- Mix all the ingredients which you need to make the dough. Knead into a soft and smooth pliable dough.
- The cinnamon roll dough should be tacky to the touch, but not too sticky so that it’s messy. If you add too little flour, the dough will be gluey and eventually result in dense rolls. If you add too much flour, the dough will be tough, resulting in dry rolls.
- You can easily swap the cinnamon and butter to pumpkin spice with a little pumpkin puree during fall.
HOW TO MAKE CINNAMON ROLLS
- Combine all the ingredients for the dough.
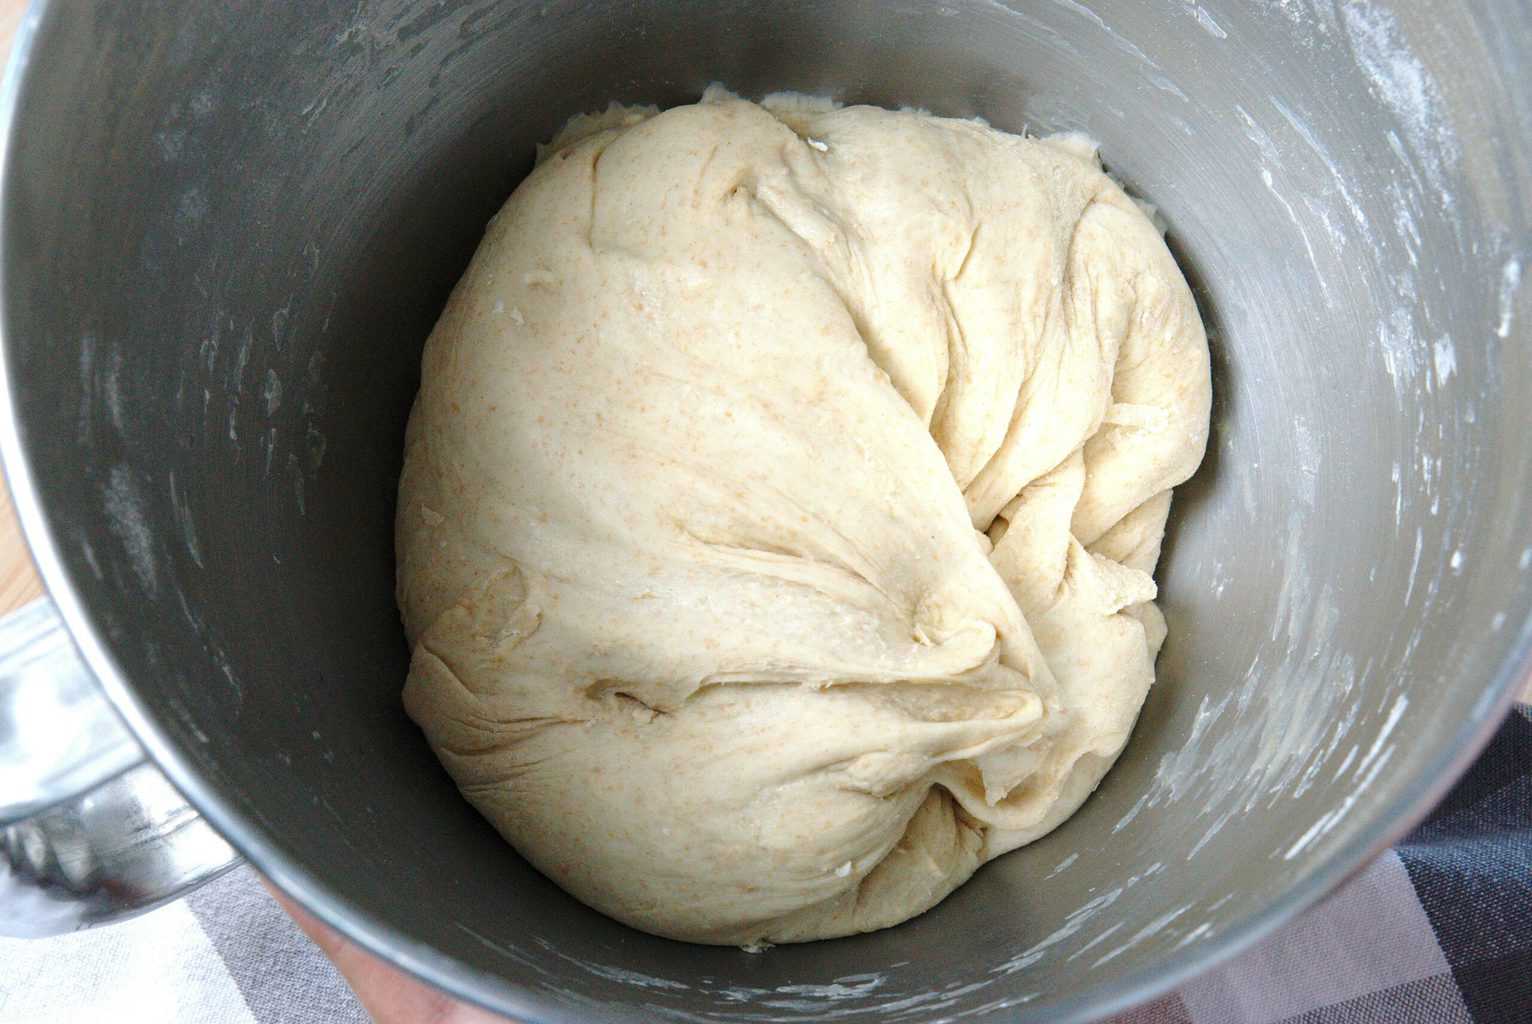
- Add milk a little at a time till it comes together and the dough is soft and pliable. Don’t make it too wet.
- Cover and let it rise and double in size.
MAKE THE FILLING
4. In the meantime make the filling and set it aside.
Combine all the ingredients for the filling.
ROLL OUT THE DOUGH
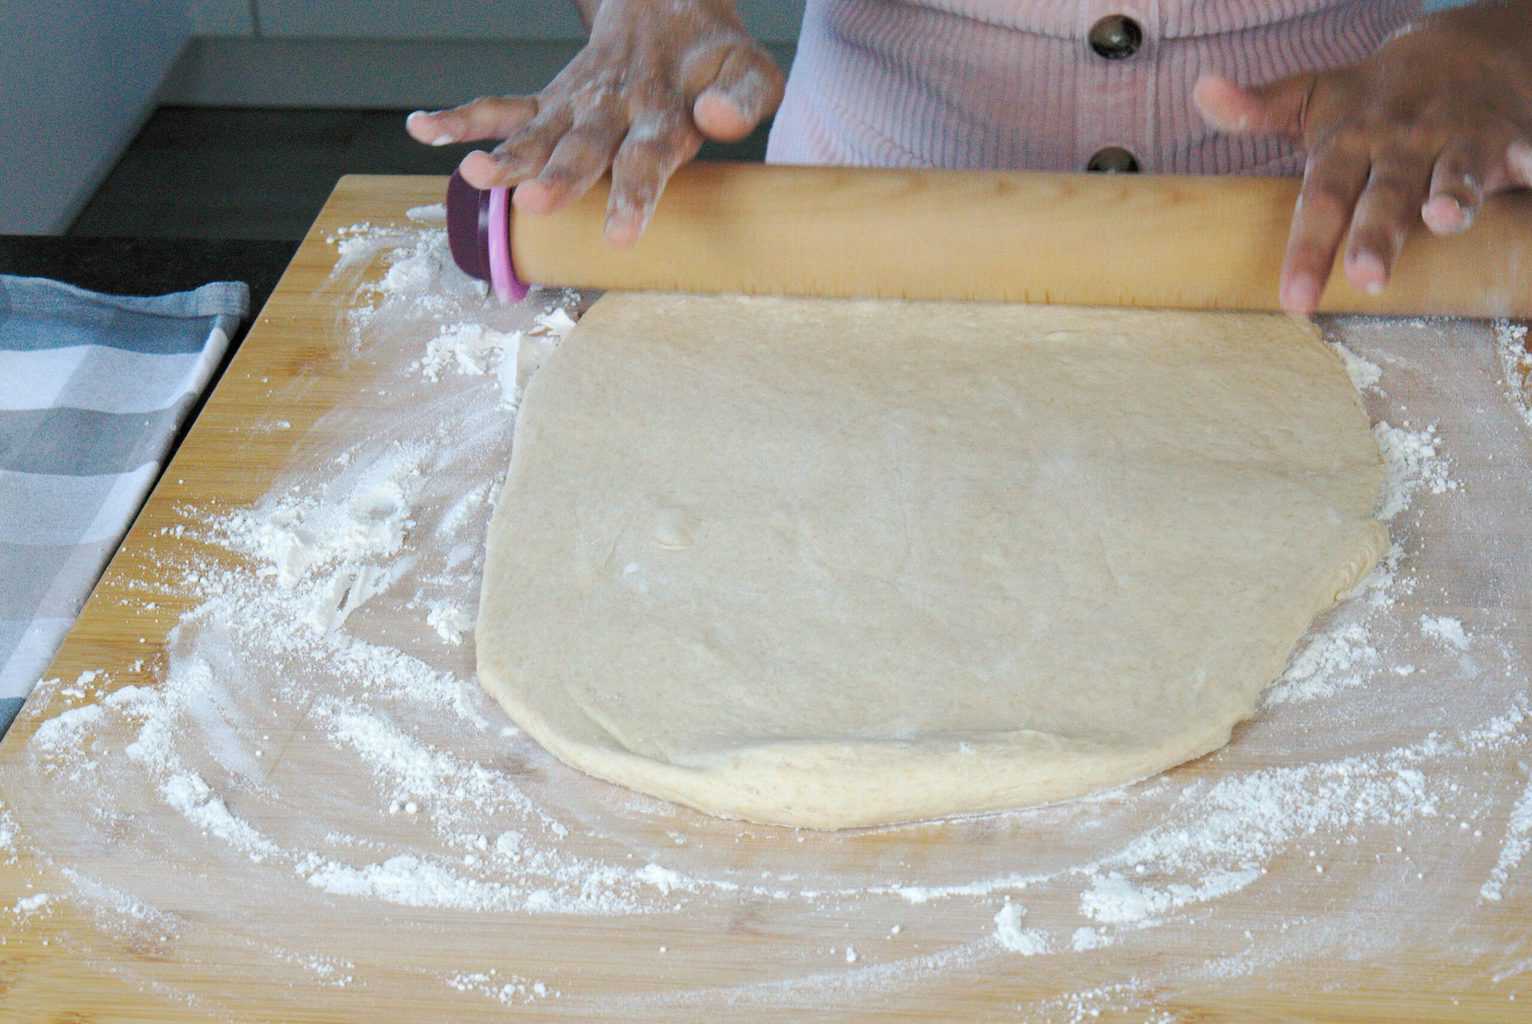
5. Roll the dough onto a lightly floured surface, into a 19-inch x 13–inch rectangle.
6. Spread the filling evenly on to the rolled dough.
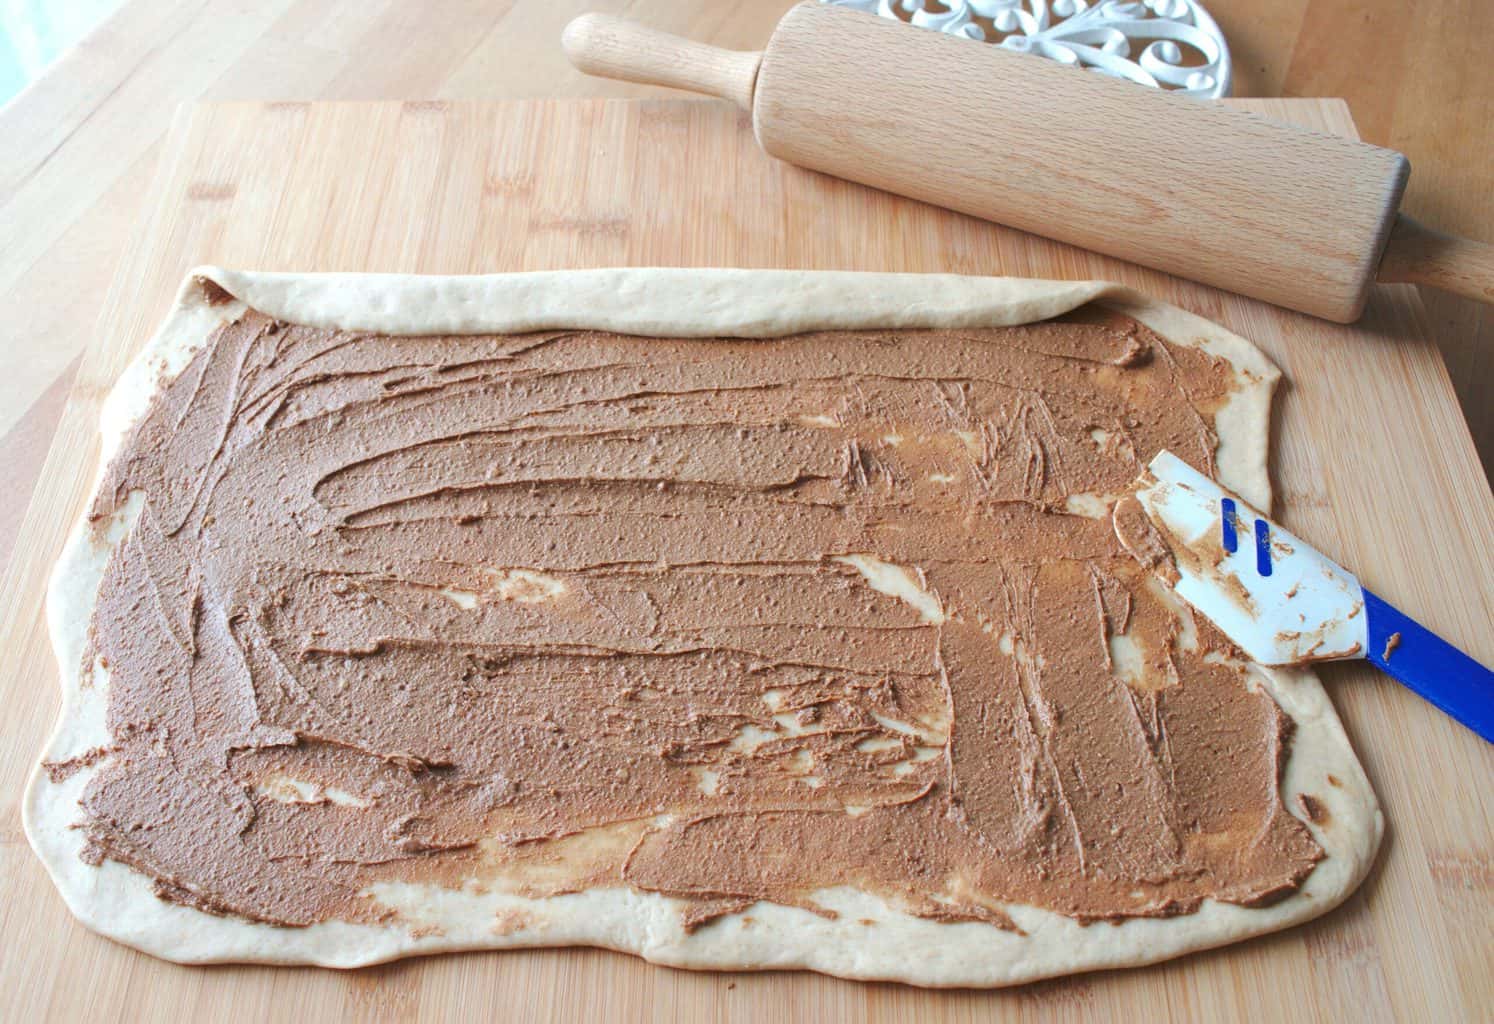
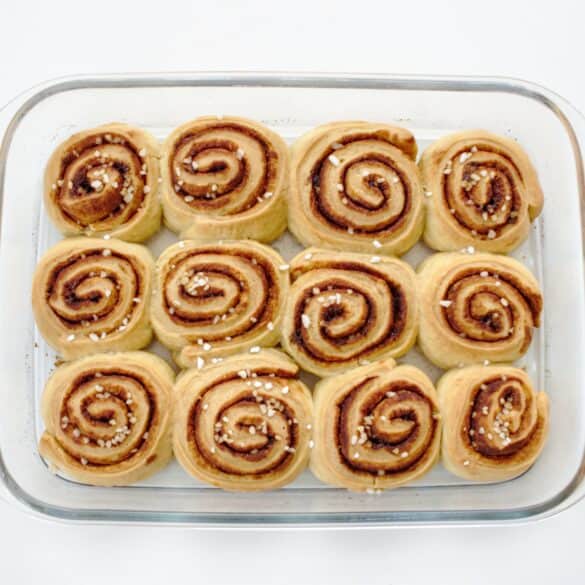
7. Beginning at one long side, roll up the dough tightly like a jelly-roll. Then gently pinch the seam down to seal.Trim the ends for even slices, and cut dough into 12 or 15 slices.
8. Place the rolls into a greased baking tray leaving a little gap.
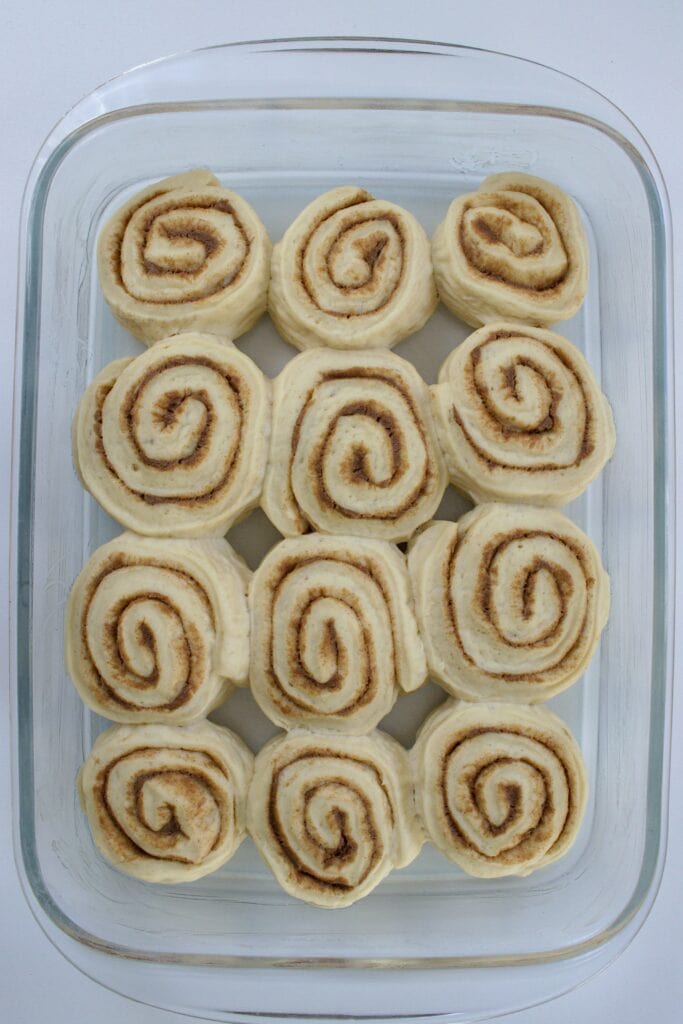
9. Cover and let it rise for 20 min.
10. Preheat the oven top and bottom heat to 180 deg. centigrade
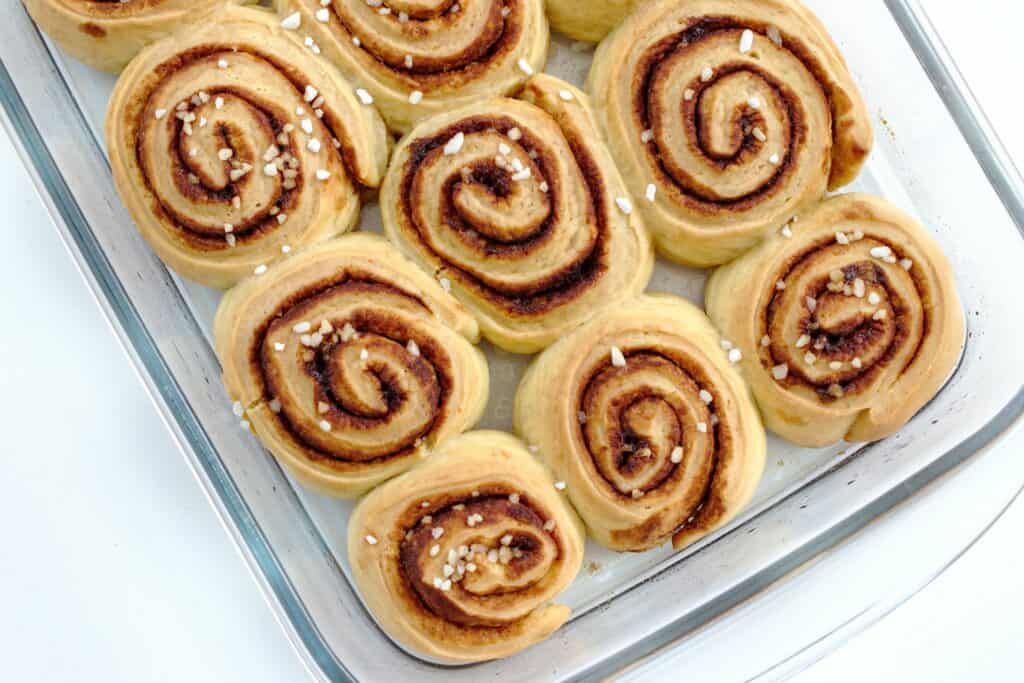
11. Sprinkle the sugar granulates and bake in the preheated oven for 20 to 25 min.
12. Before serving sprinkle with icing sugar.
HOW TO STORE CINNAMON ROLLS ?
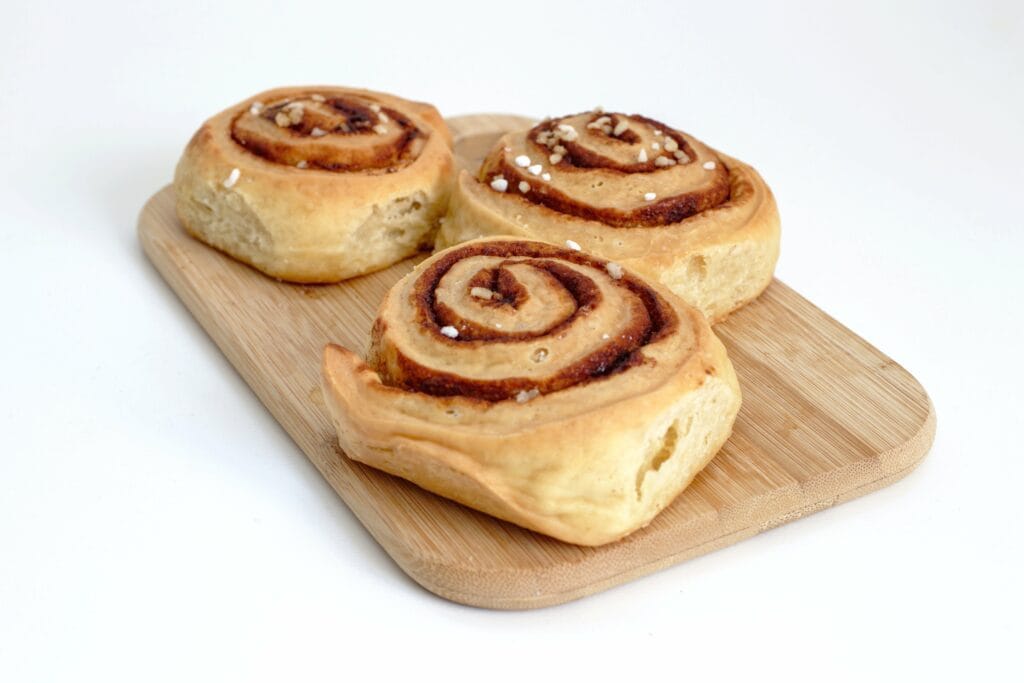
Store them in an air tight container if you have left overs. Warm it slightly in the oven and serve. You can easily store the baked rolls for a couple of days in the refrigerator.
HOW DO YOU KEEP CINNAMON ROLLS MOIST?
The key to keeping your cinnamon rolls moist is to store them airtight. I usually store them in an airtight Tupperware container. Wrap your cinnamon rolls individually in plastic wrap or foil and place them in a freezer bag. You can also store them in the pan, but wrap the pan tightly as well.
CAN YOU REFRIGERATE CINNAMON ROLL DOUGH?
Yes, your cinnamon roll dough can be refrigerated either after it’s kneaded and before the first rise or after the dough has risen and is shaped. You should cover the shaped dough tightly and refrigerate for up to 24 hours.If you are going to be working with sour dough, then plan at least 24 hours ahead, since it needs longer fermentation than yeast.
If you try this recipe and love it, I would love if you come back and gave it 5 stars! Thank you so much for visiting Vial Fair Living – we’re so happy you’re here! I would love it if you can share this recipe using the social media buttons you see next to the post.
More Baking Recipes
Ingredients
Instructions

