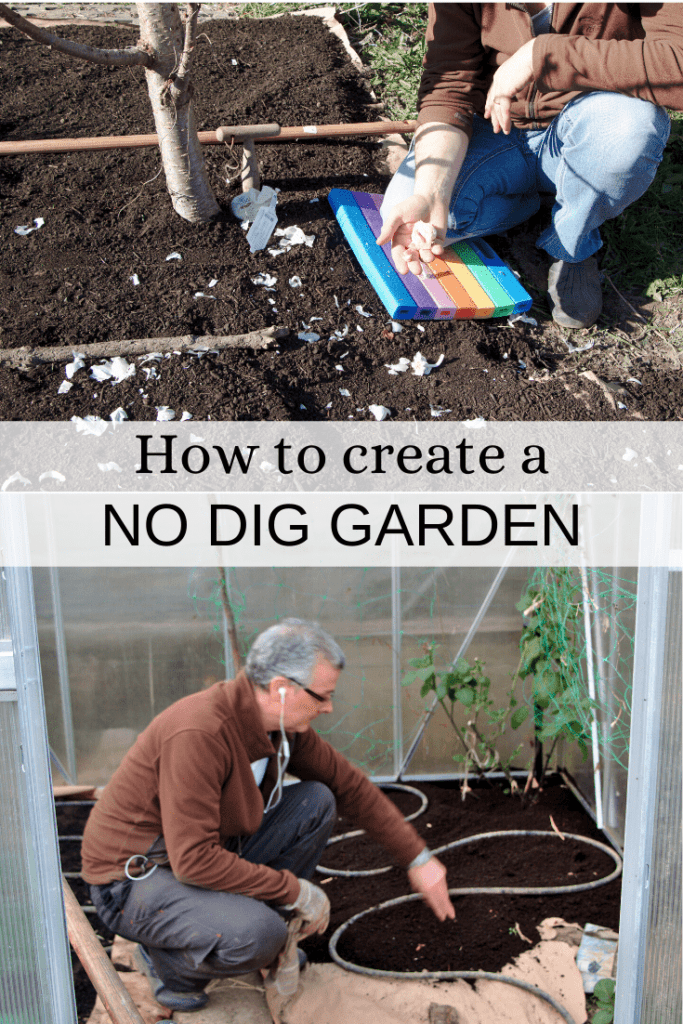
It looks like ages since I wrote on the developments we made in our garden. Well a lot is happening now, with the weather getting warmer. Creating a no dig garden this spring was our priority. We wanted to take it seriously after dabbling briefly with it years ago. Read on to get some ideas on how to create a no dig garden.
HISTORY OF NO DIG GARDEN
History or the origins of no-dig gardening are unclear but it may be based on pre-industrial or nineteenth-century farming techniques.
” The main reasons for tilling the soil is to remove weeds, loosen and aerate the soil, and incorporate organic matter such as compost or manure into lower soil layers. In areas with thin soil and high erosion there is a strong case against digging. Digging in the long term can be detrimental to the food web in the fragile topsoil. While digging is an effective way of removing perennial weed roots, it also often causes seeds that can remain dormant for many decades to come to the surface and germinate. The act of aerating the soil also increases the rate of decomposition and reduces soil organic matter.
By digging you can also damage soil structure. Digging tends to displace nutrients, shifting surface organic material deeper, where there is less oxygen to support the decomposition to plant-available nutrients, which then need to be otherwise replenished. Traditionally digging was practiced in regions with old, deep, rich soils such as Western Europe. Digging is followed by periodic resting of the soil, usually with an undisturbed cover crop. “ Source Wikipedia
In the recent years, no dig gardening is gaining popularity among many organic and permaculture gardeners. One of the most popular gardeners in this community of no dig Gardeners is Charles Dowding . I have only recently started following him on Instagram and on his website. Check out his site to get more information on to create a no dig garden.
HOW WE PREPARED OUR NO DIG GARDEN
If you want to skip reading further, click on the video below to see how we planned our no dig garden.
1. COVERING THE VEGETABLE PATCHES WITH CARTONS.
To start creating a no dig garden, we started preparing mulch beds from our own compost by mid February. By beginning of march it was really time to get serious with the gardening. We need to garden productively more than ever now considering the current economic crisis and depression.
We removed all the dried plants and composted them. Since we were very much on a budget, we looked at alternatives which will not cost us much to prepare the beds.
The best would be to use cartons to cover the beds and then layer it with mulch. Quite by accident, we got a whole bunch of cartons from the local supermarket for free. There was no way to buy anything anyway with all the lockdowns in place. They were just throwing it away and were kind enough to give it to us. We covered all our beds with these cartons.
2. PREPARING MULCH BEDS
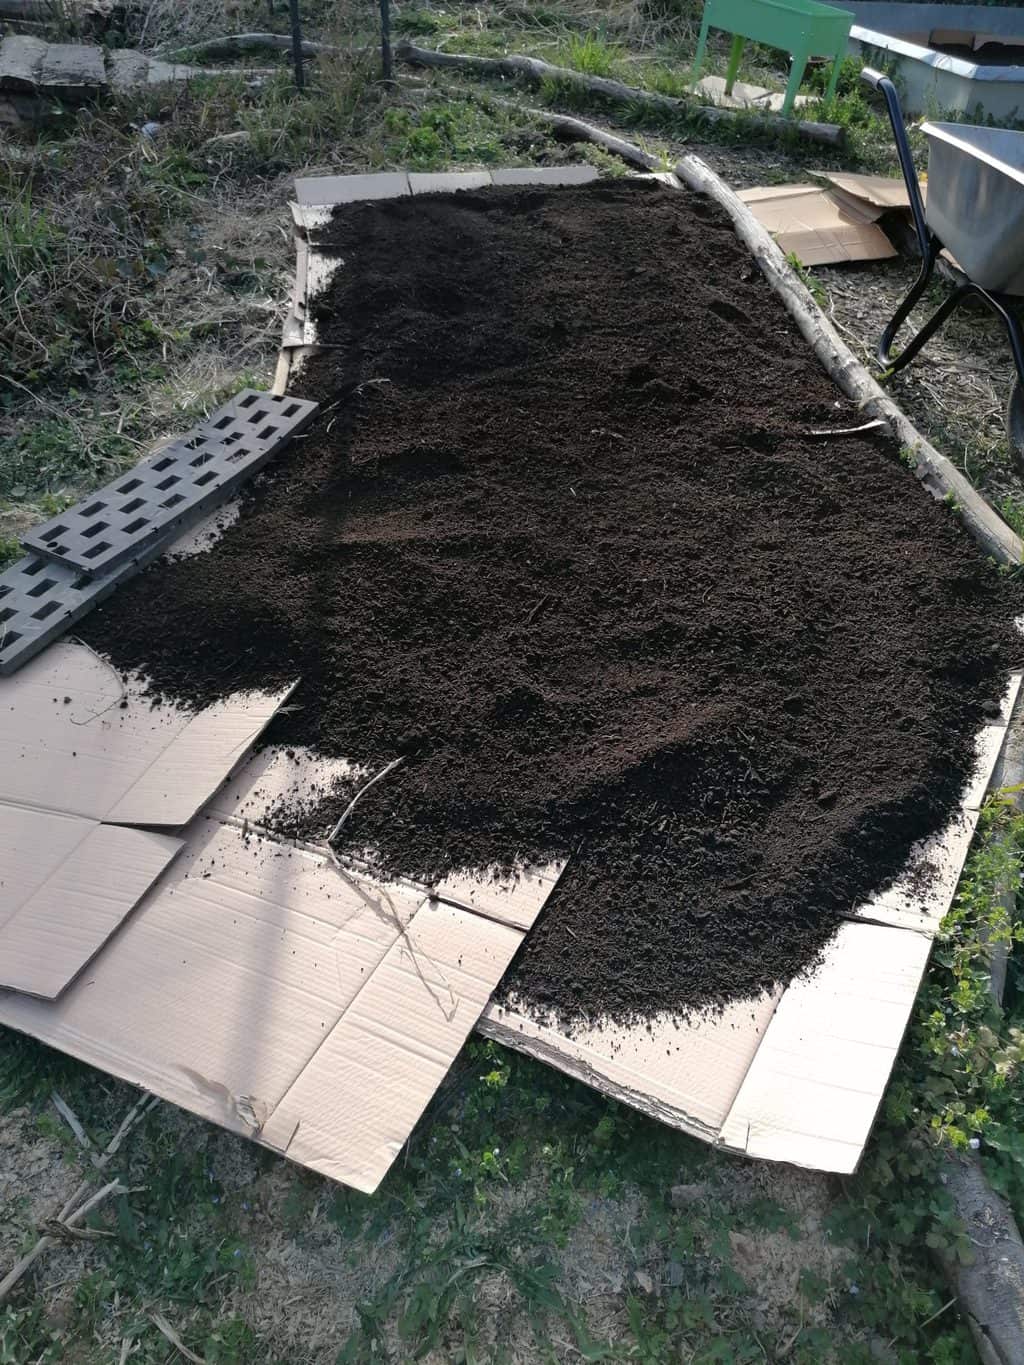
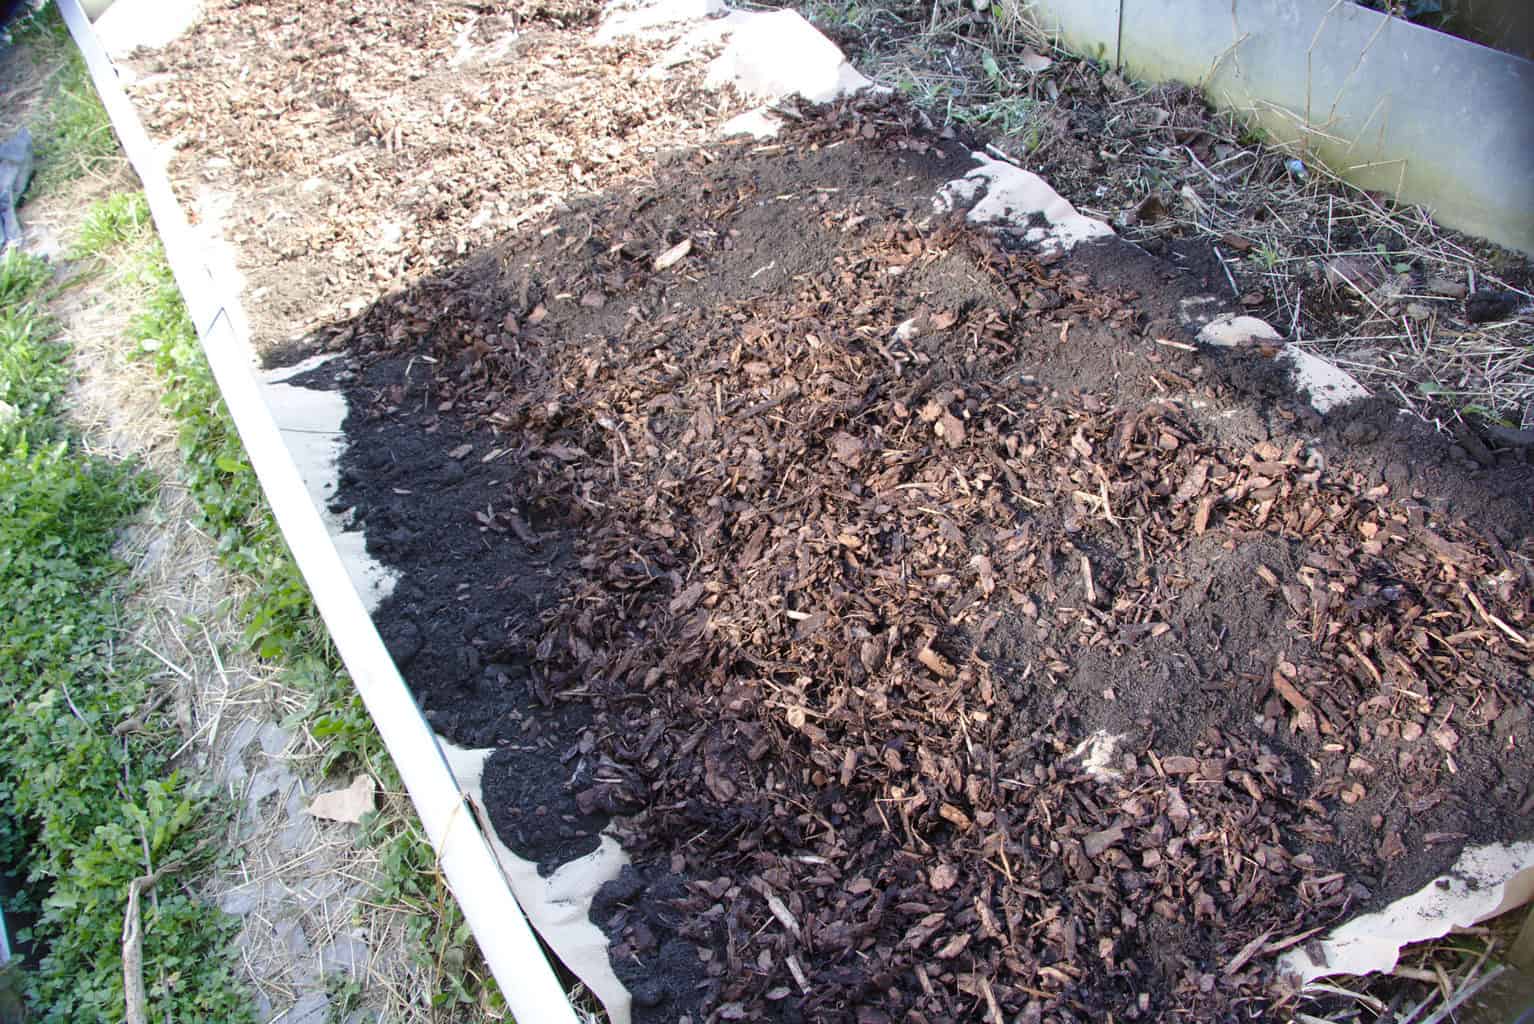
The next process to create a no dig garden is to cover the beds by layering mulch on top of the cartons. For this we needed a lot of organic mulch. The compost from our own production was not enough for even a single bed. Therefore, we bought a few bags of organic mulch from our local garden center before the lock down.
This was not very practical and was expensive. Moreover, we have a small car and not enough boot space to transport bags and bags of mulch with many trips. With the lock down looming on us in a few hours, this was definitely not going to work out. So, we called our old gardener and he obliged immediately and got a whole load of organic mulch just at the last hour before the official lock down.
3. PREPARING NO DIG GARDEN BEDS IN THE GREEN HOUSE
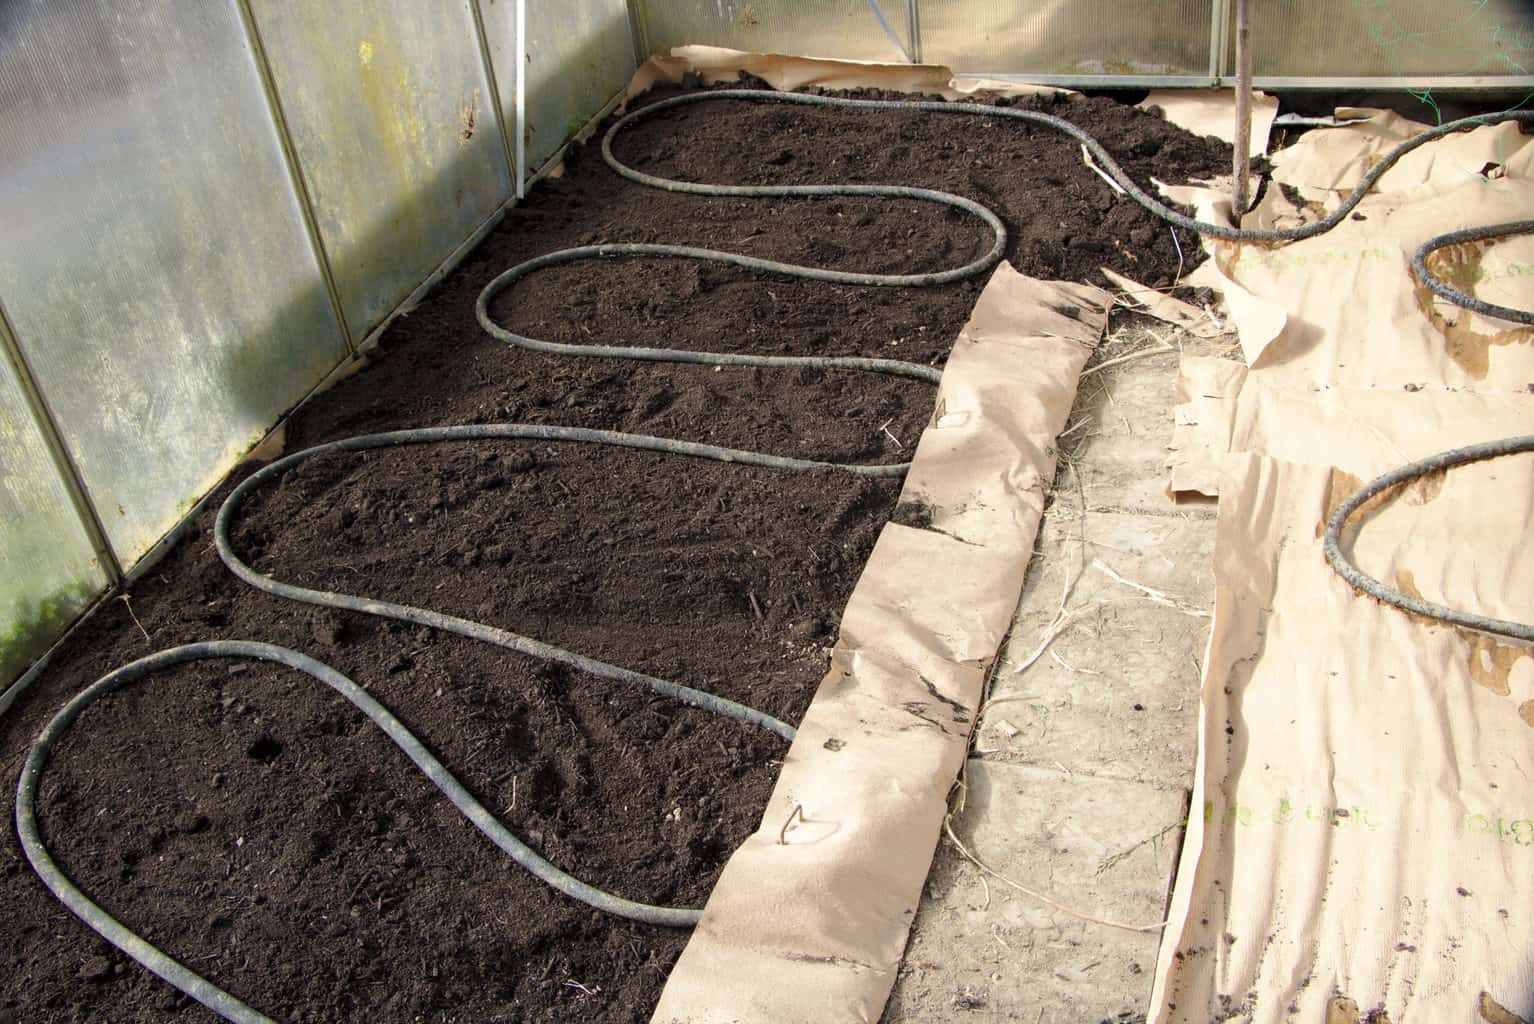
Since, the gardener couldn’t drop the load of mulch in the garden due to the pipes blocking direct entry to the garden. He dropped them in our front yard. My husband transported them with our small wheel barrow and covered all the beds. It was tedious and time consuming, but it worked out.
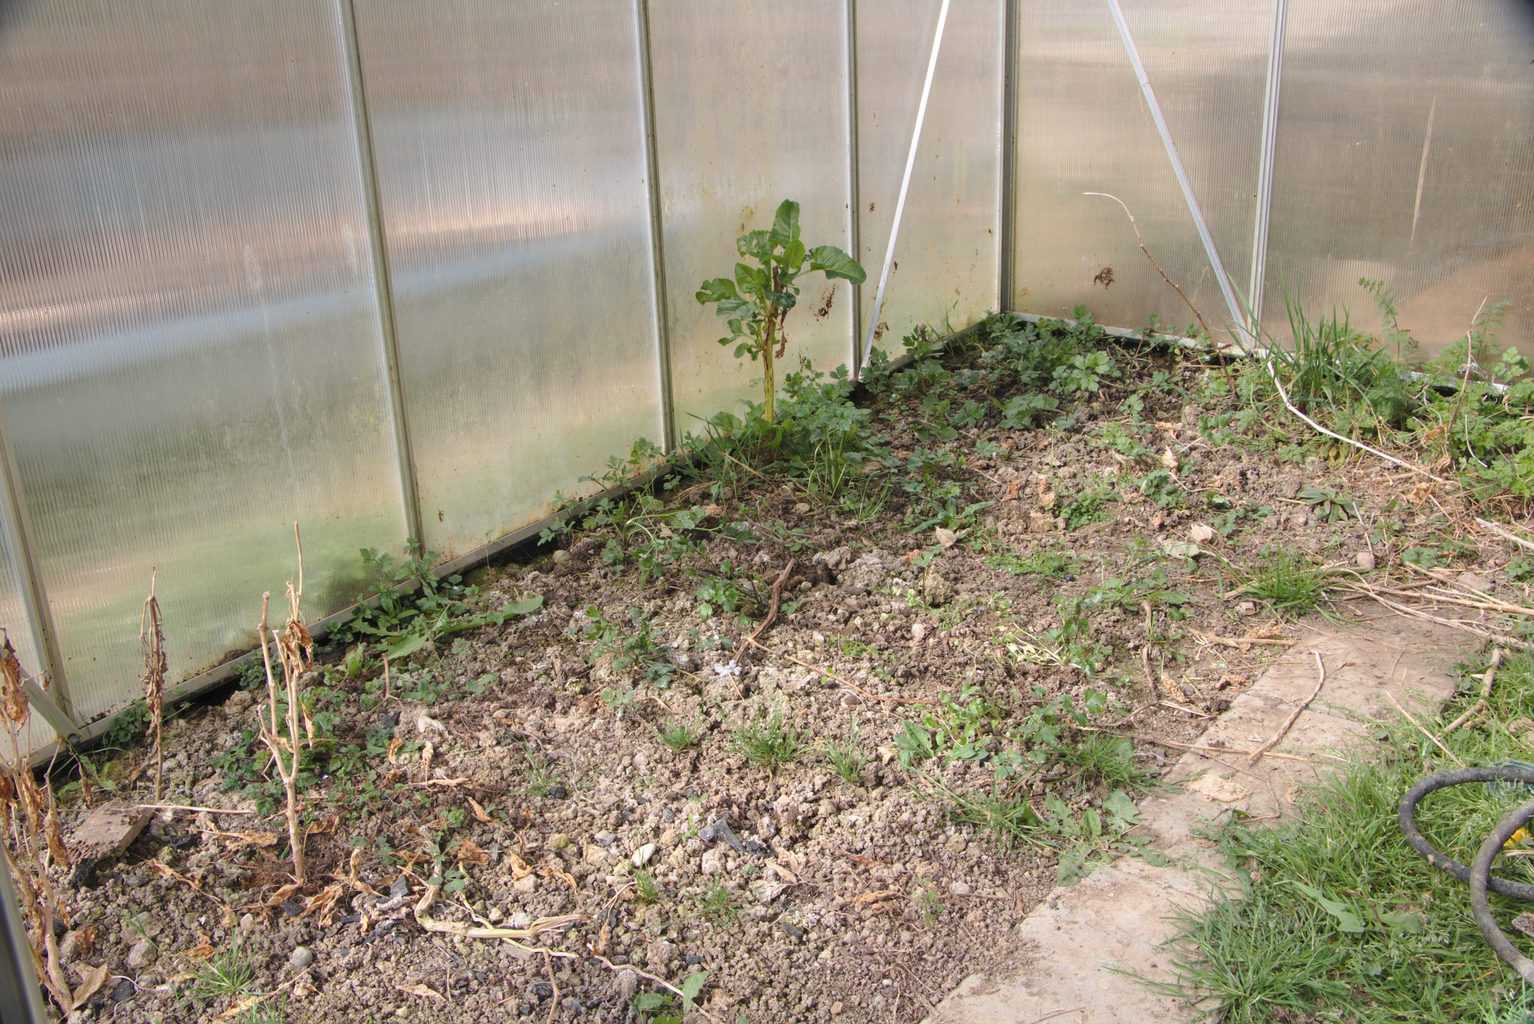
Our green house was in the meantime cleared up from all the dried out plants from the last season. After that the same principle of covering the soil with the carton and then layering them with the mulch.
We also placed the snip and drip irrigation system back in the greenhouse and other beds outside the greenhouse. We are planning to install the same on the remaining beds, if the budget permits.
4. COVERING UP THE PREPARED BEDS TO PREVENT WEEDS
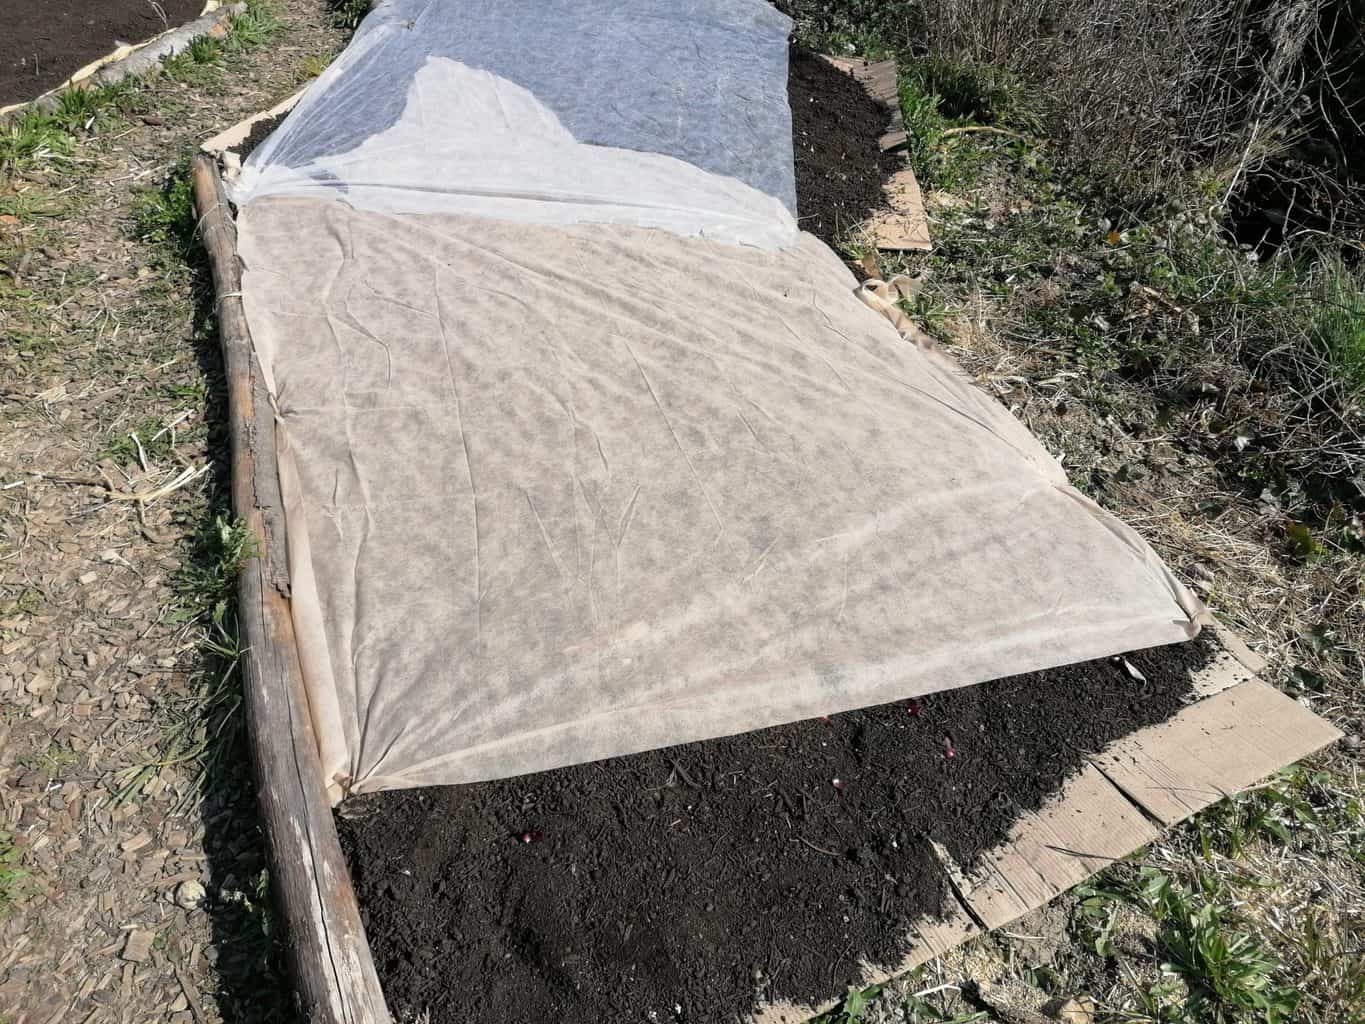
Since it is early to plant most of the vegetables as early as the first or second week of March. We needed to cover the beds to prevent weeds from growing. We had a couple of special sheets to do just that. Luckily for us, we could get most of our stuff well in advance. There was also the risk of frost and the frost can occur any time till about Easter. Despite the seemingly warm days, the night temperatures were still below zero.
5. PLANTING FROST RESISTANT BULBS AND SEEDS
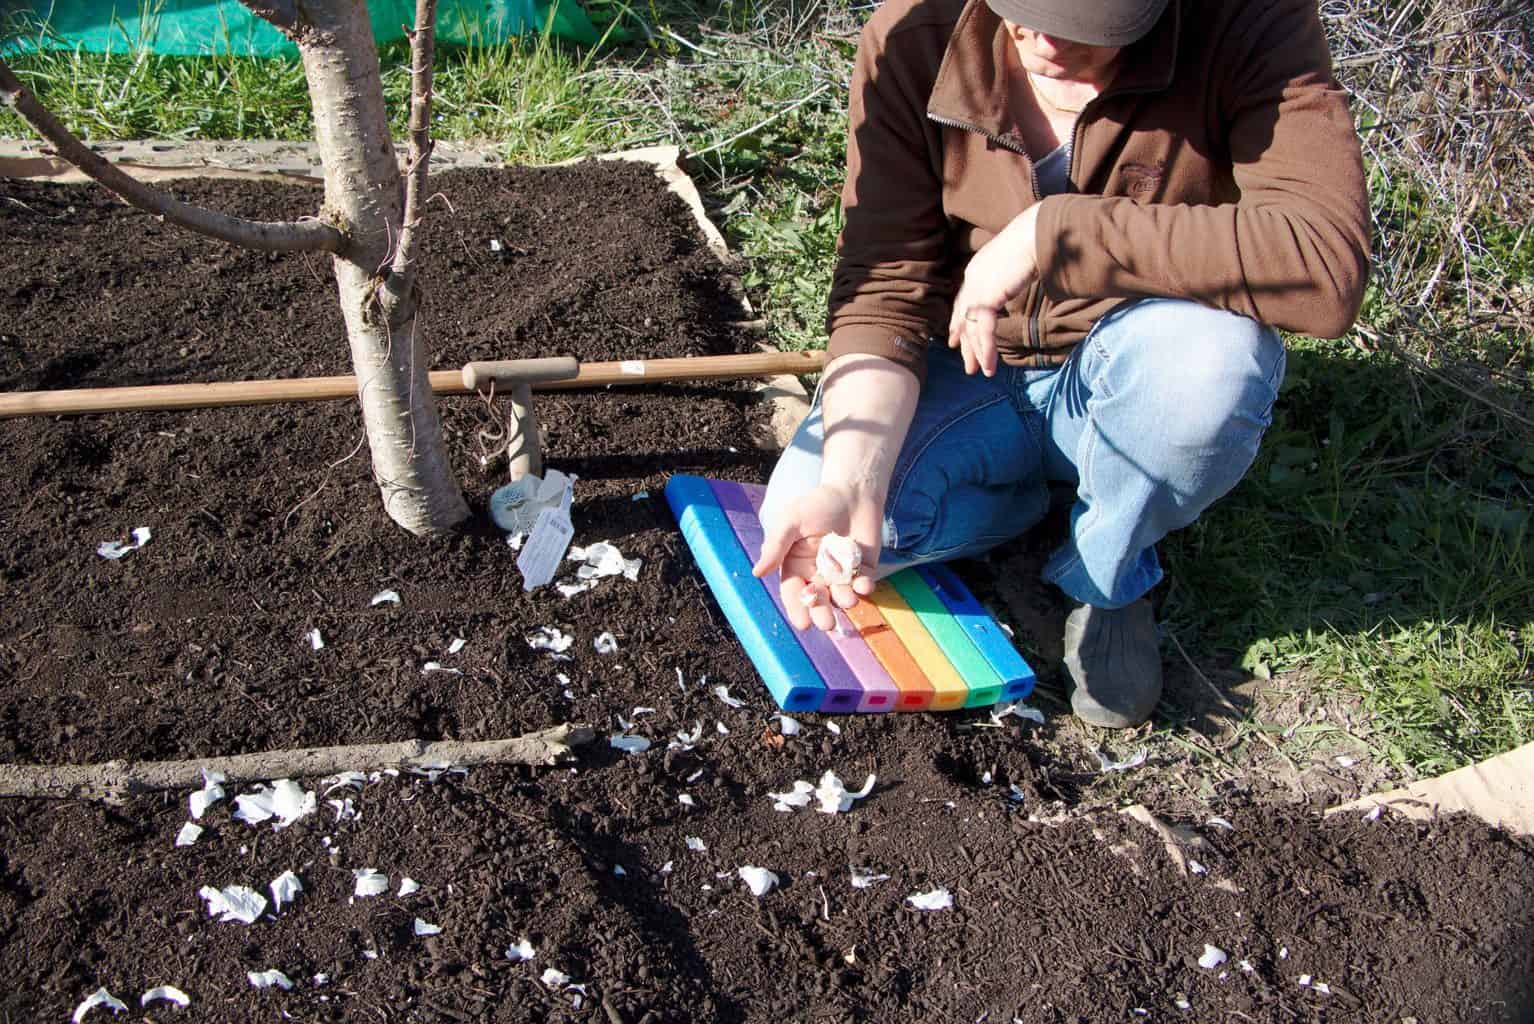
This year we made a time table for planting on our no dig garden. We can try to plant a few varieties of vegetables at the right time to get the best harvest. The best vegetables to plant in March would be bulbs like onion garlic, spinach and lettuces.
We got a few bags of onions and garlic bulbs before the official lock down. We somehow had an intuition that such a situation would arise and got our garden supplies way back in February. Since we are gardening for the past 3 years, we also didn’t really need many big things. We planted onion, garlic and some spinach and lettuces. Other vegetables we planted were carrots.
6. PREPARING THE SEEDLINGS AT HOME
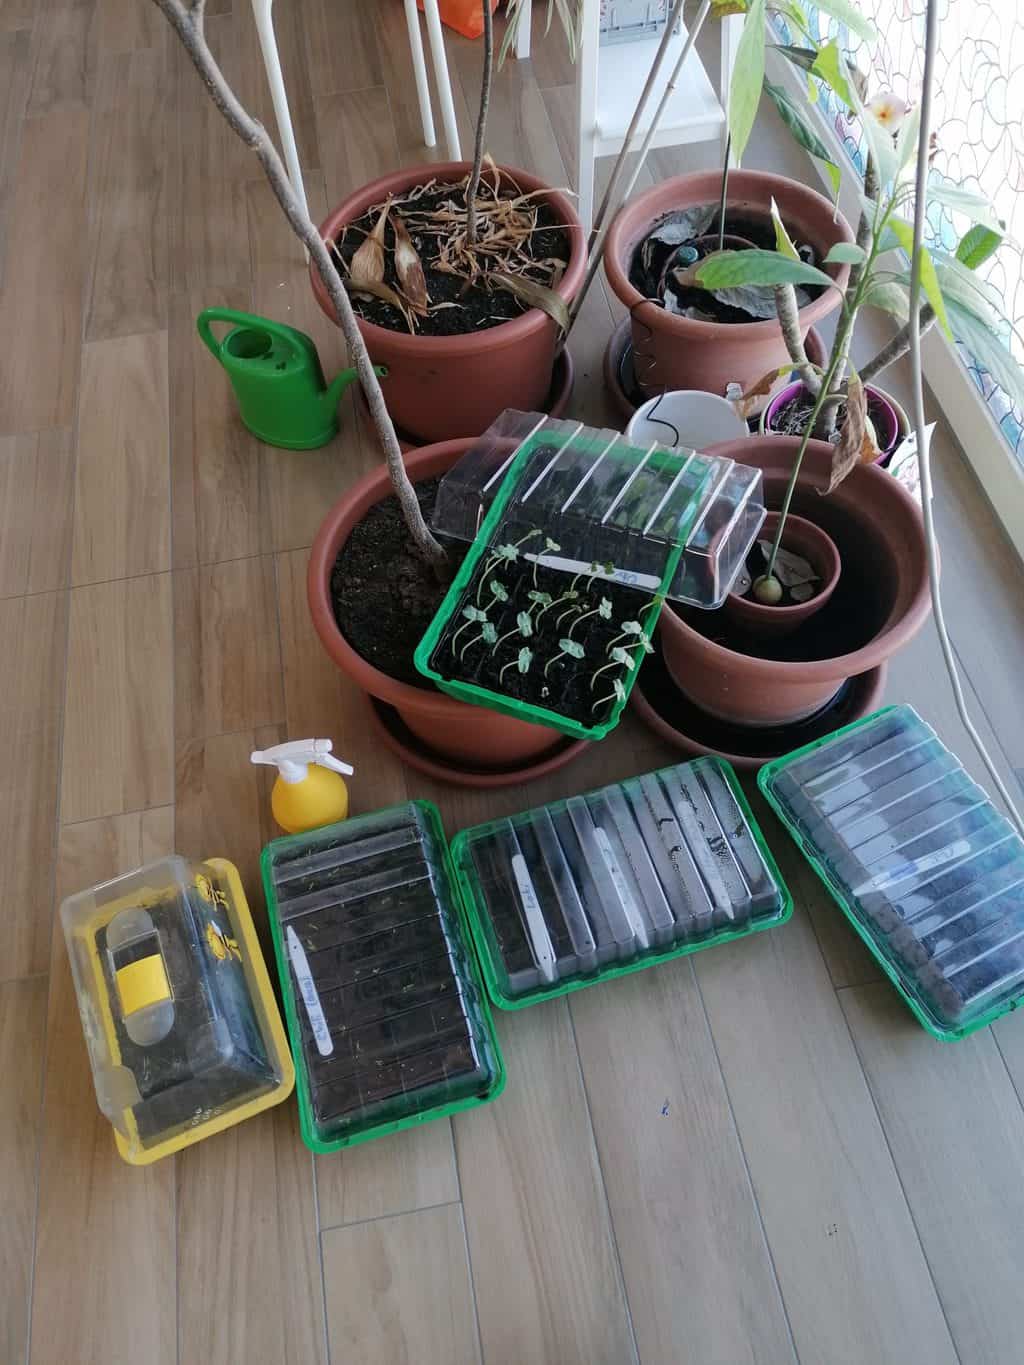
The next step is to prepare our seedlings using the seed blockers we had. We are going to plant our heirloom seeds this year in addition to some more we saved up from last year. We could not buy seeds at the garden center or anywhere else. Therefore, saving our heirloom seeds was our life saver now.
Before we can actually plant these saplings in our greenhouse and in other beds, we had to prepare them inside the warmth of our home first. We sowed seeds like Okra, Tomatoes and different kinds of squashes. They have already germinated and now grown a few cms. We can plant them in our green house once the night temperatures are above 10 degrees centigrades. Some of the tropical seedlings are delicate and may not survive inconsistent temperatures at night.
Well the good news is that they are doing well in the comfort of our home and ready soon for the green house. We have had really warm days for the past week. We also installed a gas heater just in case. On this note, I will conclude my post on creating a no dig garden and spring planting ideas.
Your feedback is valuable
I hope this post on how to create a no dig garden was useful to you. Do have some feedback you’d like to share? Leave a note in the comment section below!
Thank you so much for visiting Vial Fair Living – we’re so happy you’re here! and thanks for taking the time to read this post. I would love it, if you can share this post using the social media buttons.
PIN IT FOR LATER
