
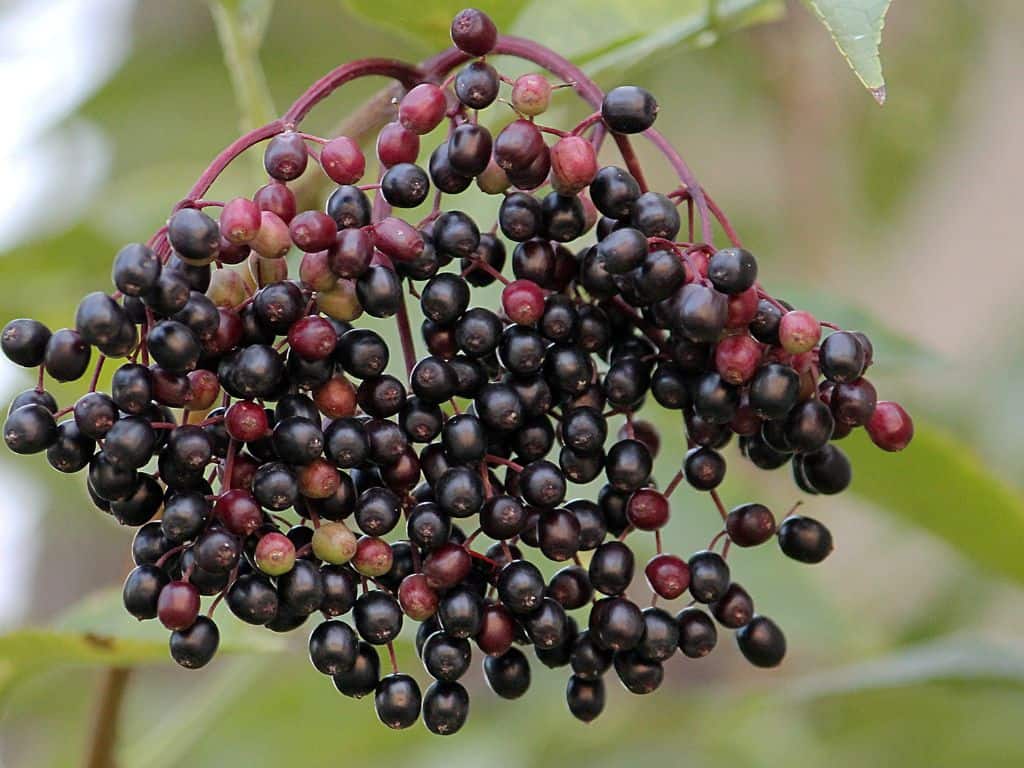
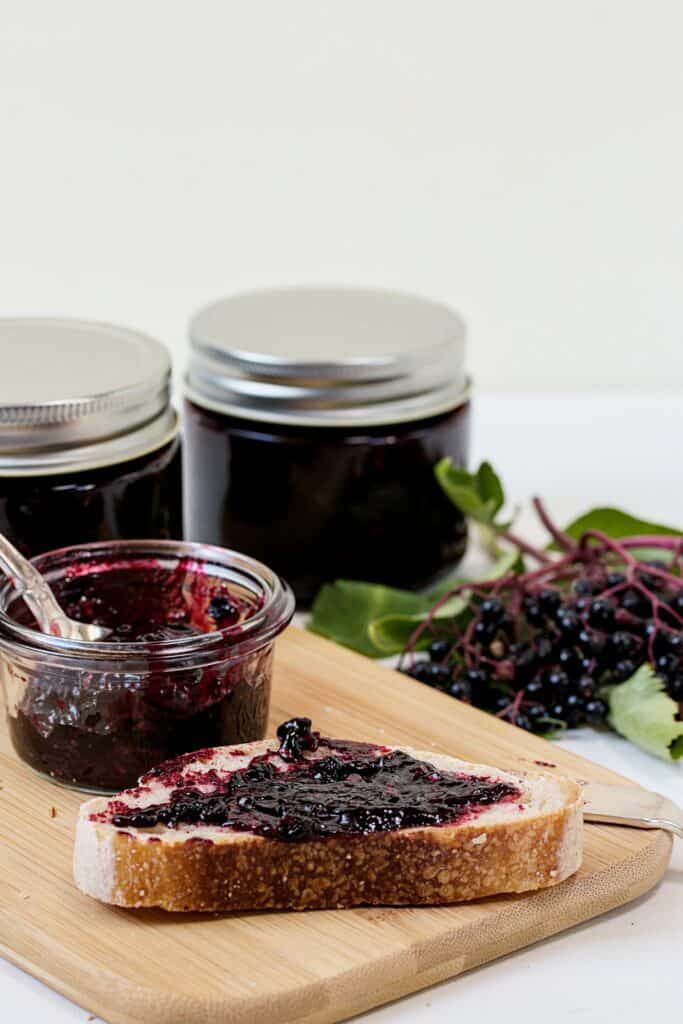
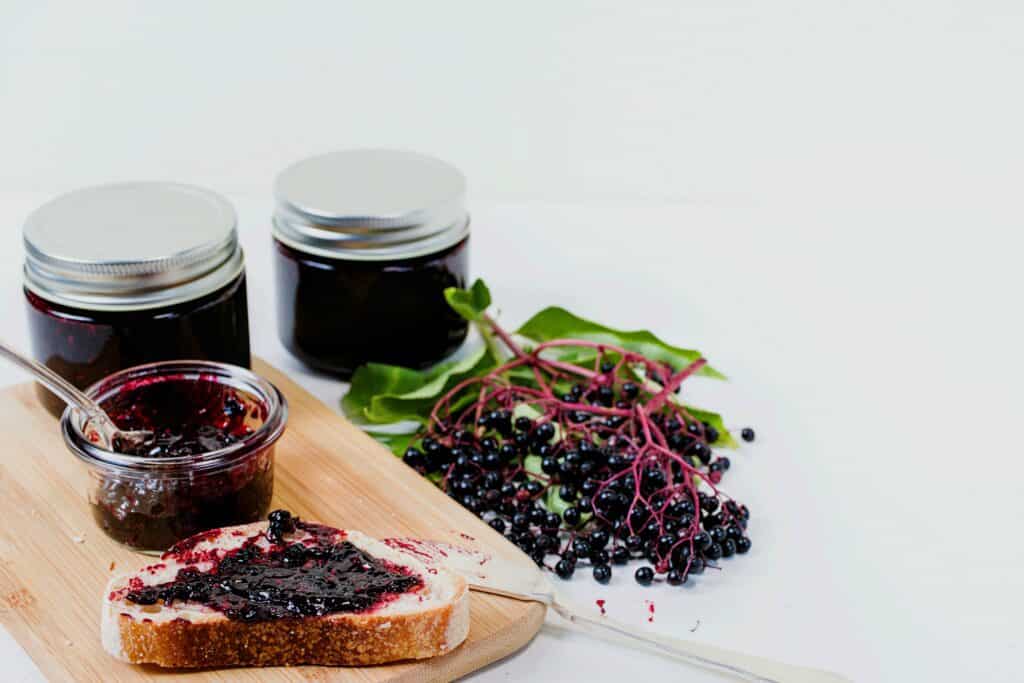
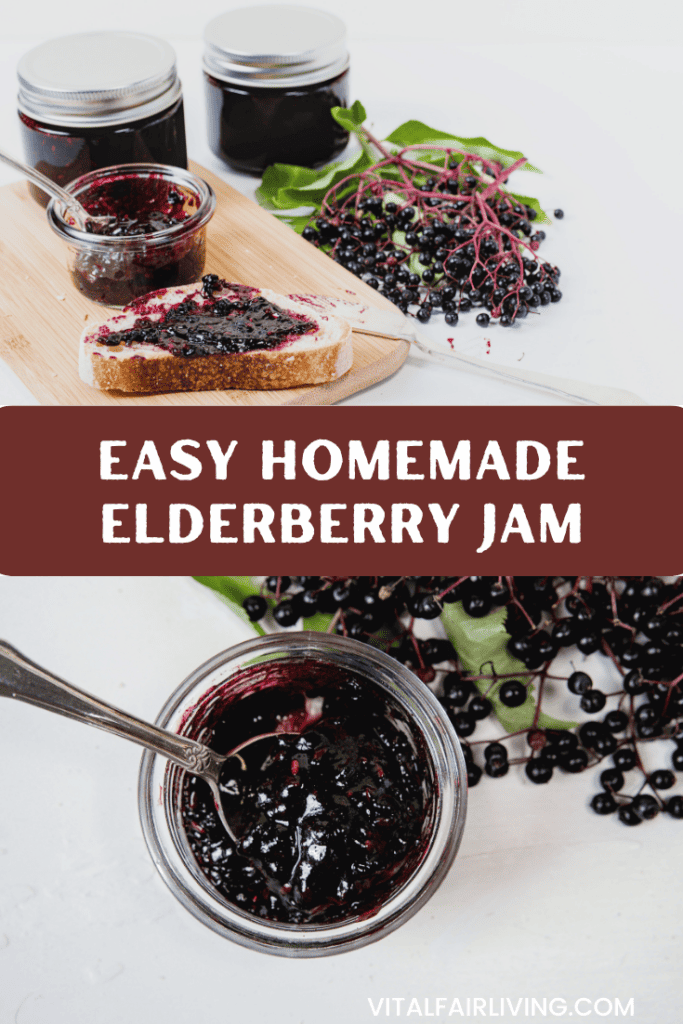
It is that time of the year, when we gardeners are busy preserving our harvest. One of the abundance we have is Elderberry. If you have access to fresh elderberries, then add this easy 3 ingredient Homemade Elderberry Jam Recipe to your list. This recipe is the perfect way to preserve the luscious taste and health benefits of elderberry for the coming winter months.
BENEFITS OF ELDERBERRY
Elderberries naturally contain vitamins A, B, and C to stimulate the immune system.
A few studies have suggested that elderberry could help with bacterial sinus infections or bronchitis. More research needs to be done on this.
I don’t claim anything here, but I enjoy all these fresh produce from my garden. On the other hand, my personal experience with our elderberry cold and flu syrup is that it has worked wonders for us in preventing winter colds so far.
IS IT EASY TO GROW ELDERBERRY BUSH
Elderberry grows almost wild in Europe. I didn’t need to plant one in my garden, because the previous owner planted a variety of native plants and bushes.
If you want to know more about how to grow an elderberry bush, check out this link. How to grow and care for an elderberry bush .
The best time to harvest is between end of August to mid of October. We harvested ours already by the first week of August because, our bushes are producing early due to the ample sunlight they receive throughout the season. Since, I have already made Elderberry cough syrup, compote this season, I was left with ample berries to make jam too.
Tips to make Homemade Elderberry Jam
- Pick the berries only when ripe.
- Since elderberries in their raw form contain a constituent similar to cyanide, always cook these berries before consuming.
- Canning the jam will help to preserve the jam longer.
- Keep a plate in a freezer so you can test if the jam has achieved the right consistency before bottling.
- Lemon juice brings back the vibrant colors of the cooked elderberries.
- Bottle the jam by setting the glass jars on a wooden board otherwise, the jars will crack.
- Use appropriate tools in order to prevent burns and scalding, since the cooked jam is very hot.
Easy Homemade Elderberry Jam Recipe
Tools you will need
Disclosure: This post contains affiliate links, meaning, at no additional cost to you, we will earn a small commission if you click through and make a purchase. Learn more
Heavy bottom Pot
Wooden cutting board
Ingredients needed for making Elderberry Jam Recipe
500 gms of ripe fresh elderberries
400 gm of jam sugar or pectin sugar
1 tbsp on lemon juice
Method
- Remove the ripe berries from their stalks with a fork. Remove the leaves too.
- Wash the berries thoroughly.
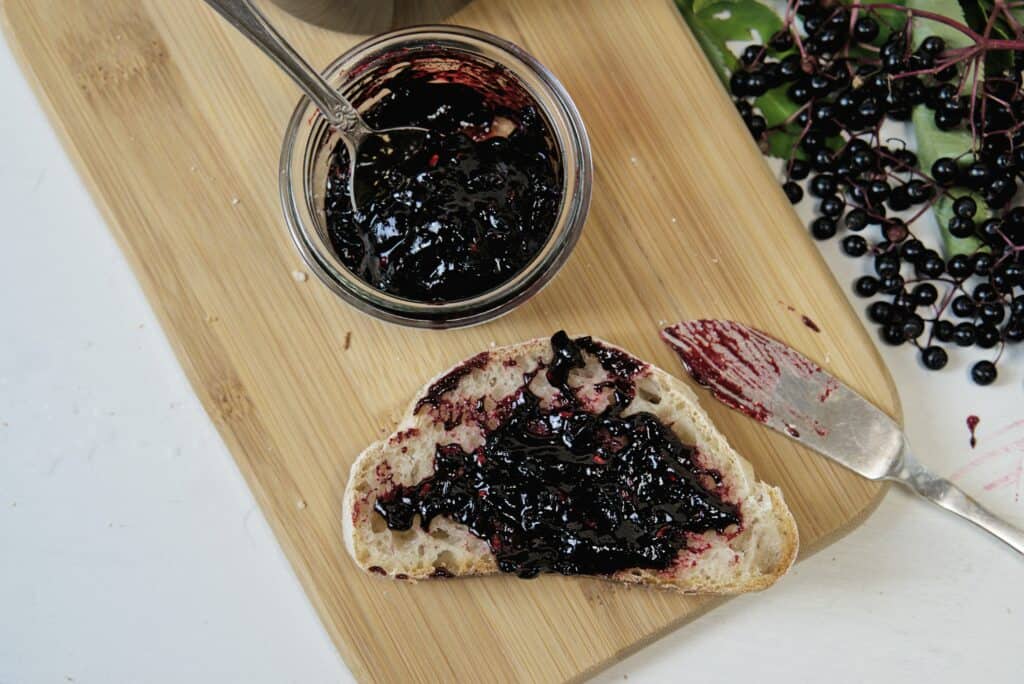
- Transfer the clean berries into a heavy bottom pan and crush them a little to release some juices. We want the berry texture too, so don’t mash all of the berries.
- Add the sugar to the berries and once cooked add the lemon juice.
- Simmer on a low heat and stir continuously to prevent the jam from sticking to the bottom.
- Cook for around 20 minutes. Discard any scum which has raised to the surface.
- Do the plate test. Drop a small dollop of the jam on the frozen plate and tilt it. If it has formed a skin and stopped flowing, then its ready for bottling. Alternatively you can also set the plate in the fridge for a few minutes and once the skim is formed, bottle.
- In case the skin on the jam has not formed, continue cooking and repeat the above process at intervals, till you reach the right consistency.
- Fill the jam into sterilized glass jars by setting the jar on a tea towel or a wooden board to avoid the jars from cracking.
How long can you store homemade elderberry Jam ?
Unopened bottled jam can be stored in a cool dark place easily for 1 year. Some of my jams store longer too.
Once you open the jam, store in the fridge and consume quickly.
It is advisable to use smaller jars for bottling so they are used up quickly once opened.
Pin it for later
Your feedback is valuable
If you try this recipe and love it, I would love if you come back and gave it 5 stars! Thank you so much for visiting Vial Fair Living – we’re so happy you’re here! I would love it if you can share this recipe using the social media buttons you see next to the post.

Ingredients
Instructions