Making homemade fermented pickles are that easy and its no rocket science. Whats more you get your daily dose of probiotic, a must for a healthy gut. Learn how to make fermented pickles at home with the minimum of ingredients and tools.
HARVESTING SUMMER CUCUMBERS
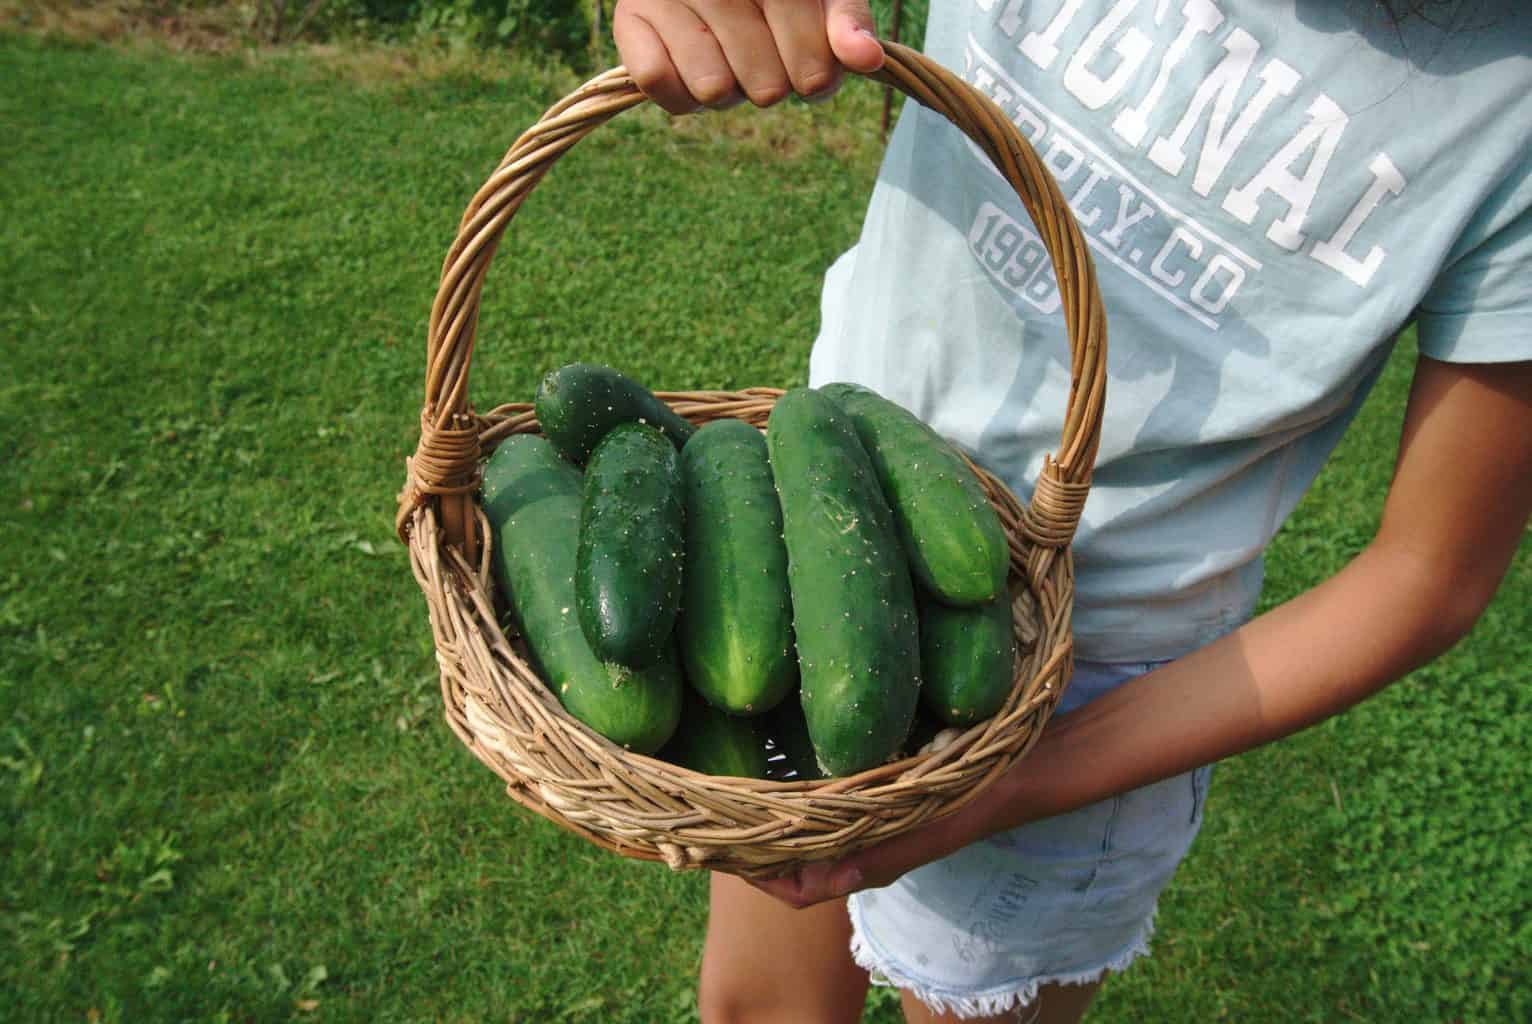
I shared an earlier post on our no dig garden planting with summer planting ideas, and one of the veggies in the list was cucumbers. Well, this year we planted a few heirloom cucumbers in one of our patches and we have a successful harvest in comparision to last year.
This years harvest is similar to the harvest we had in 2017. Gardening is fun but at the same time it has its challenges. We are very much dependent on the weather, seed quality, soil etc.
I don’t want to be boring you with gardening in this post, but it has to be said that cucumbers are easy to grow. They need good compost soil and lots of water and sun of course.
In 2017, I didn’t have an extra large freezer to freeze excess produce, as a result, I shared more than half of our produce with neighbors and friends. We still share our produce with our neighbors. Since early spring they have also taken to gardening, therefore, we now share what the other doesn’t grow. Still plenty for me to freeze or ferment.
WHY MAKE HOMEMADE FERMENTED PICKLES
There are many reasons to make your own ferments. For me personally it is to conserve our garden produce and eat those healthy probiotics to boost the immune system. The added benefits of home fermentation are cost saving and waste reduction. Another reason, is you don’t have to rely on a freezer which adds to extra electricity bills. You know what goes into the ferments. In addition to that you know exactly how much TLC goes into cultivating your plants.
Since you cannot freeze cucumbers, fermenting is the best option. I just happen to be one of those people who cannot digest too much of raw cucumbers. However, the only cucumber variety which I tolerate raw is the Nostrano variety. So we plant only this variety.
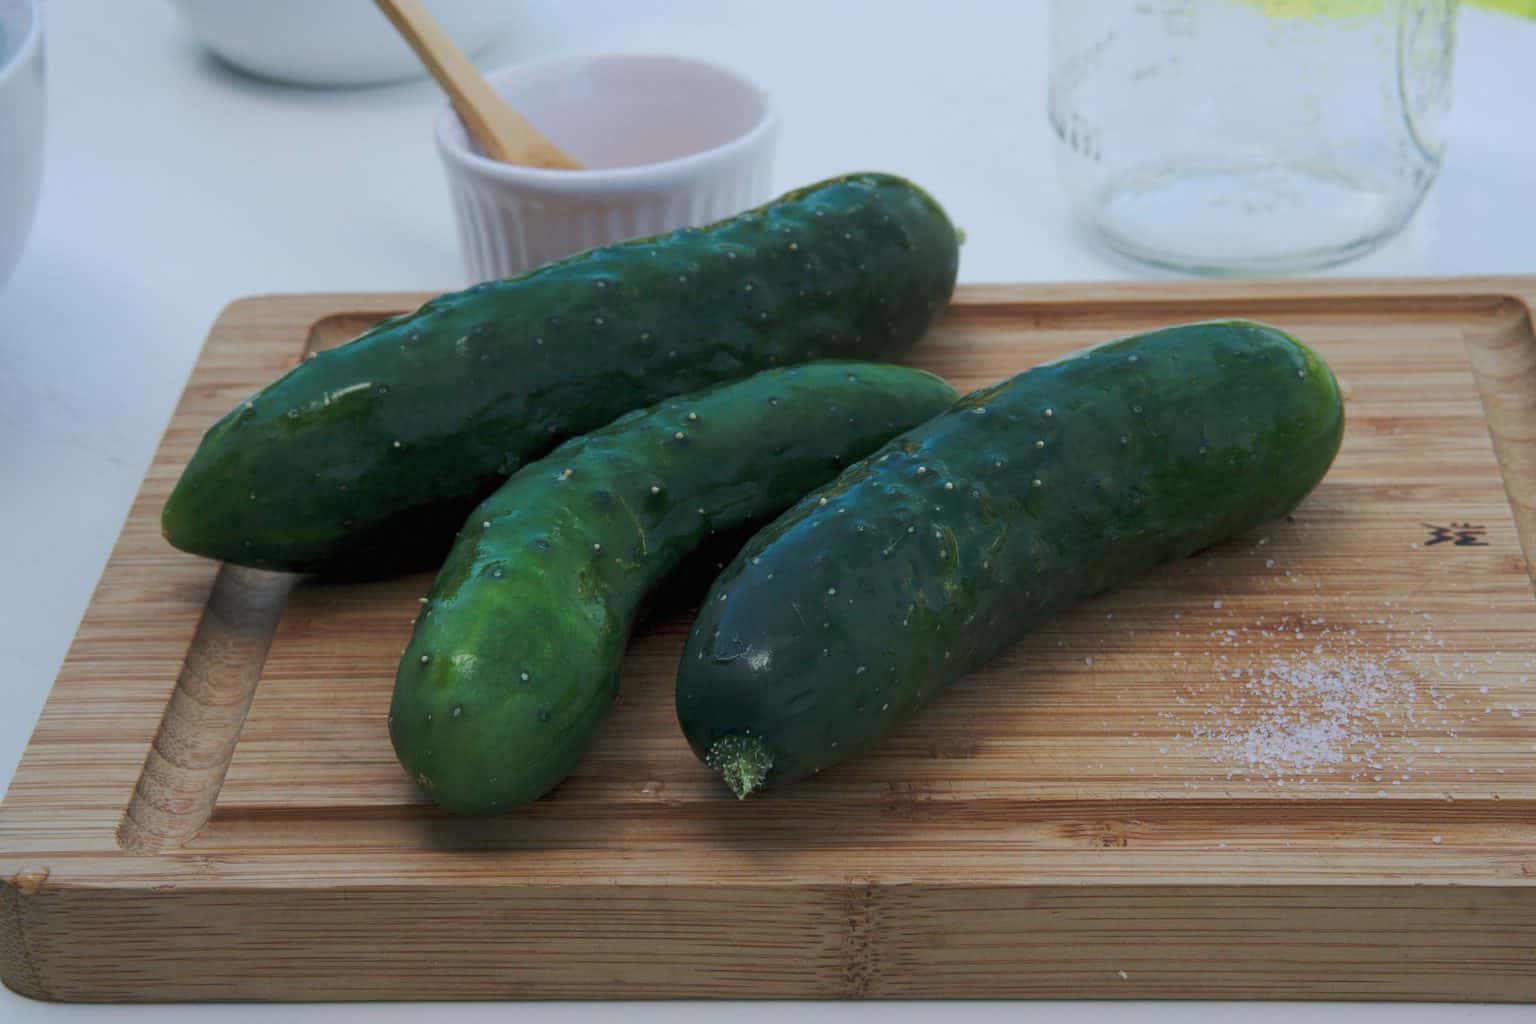
NOSTRANO CUCUMBERS
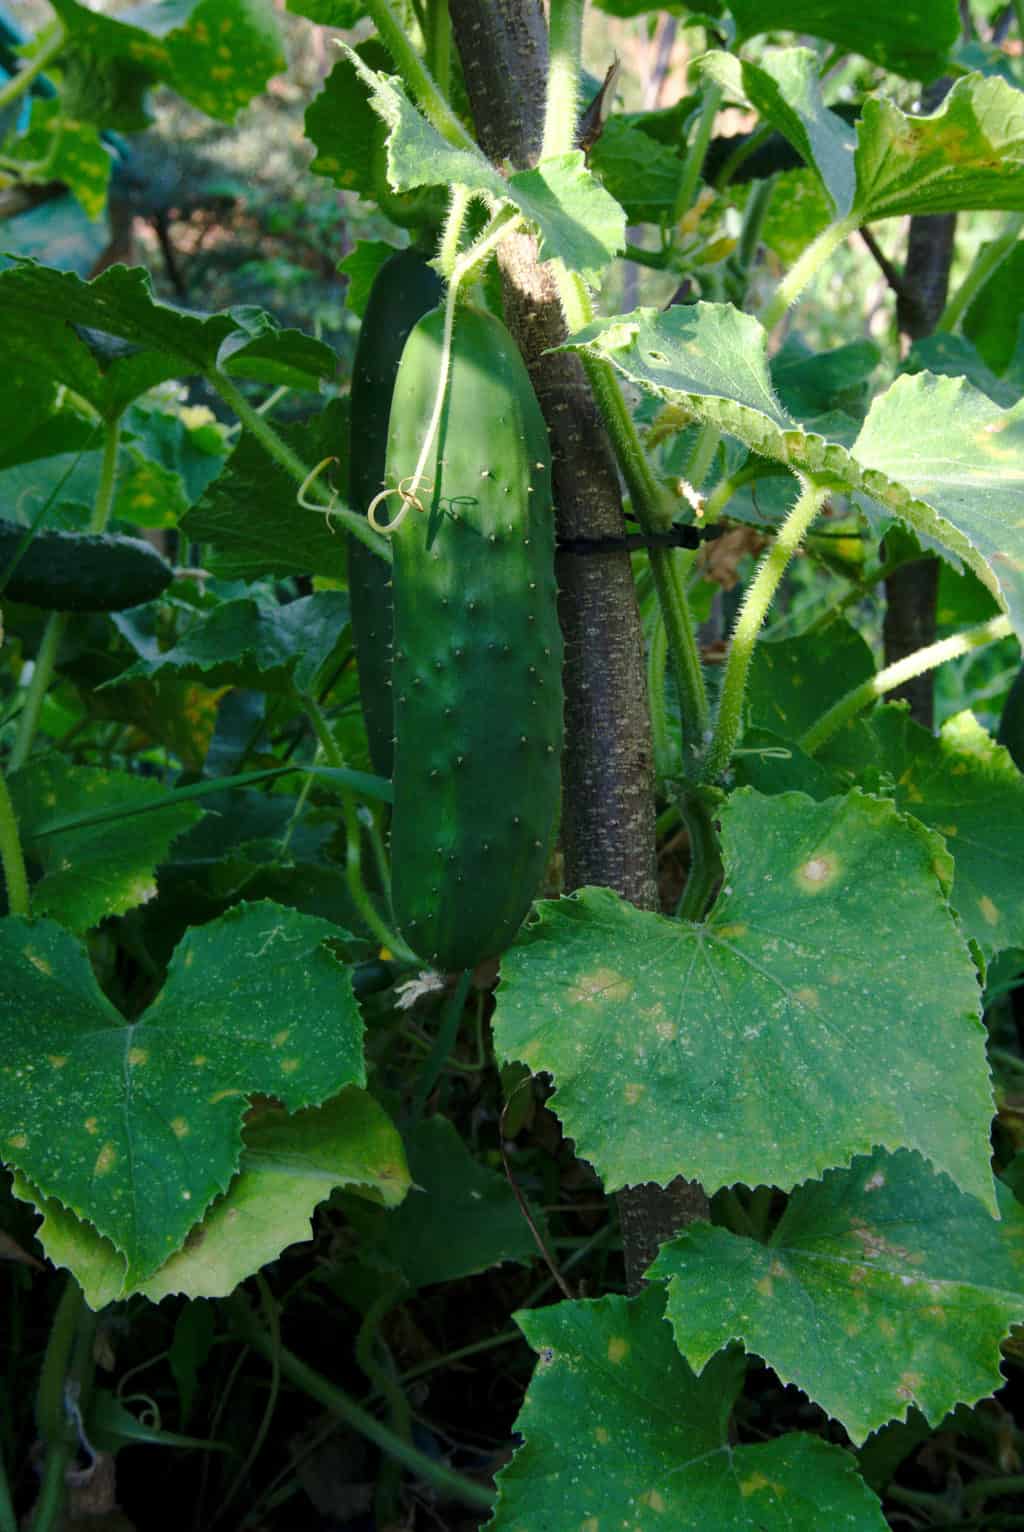
Cucumbers of the Nostrano variety are known to be a hedgehog among other varieties. They have a spiky skin, which can easily be brushed off with the hand. This variety has the highest water content and more flesh than other cucumbers adding to the intense taste.
One can only eat so much of cucumber salads given any day of the week. Since, cucumbers do not freeze well, its easier to ferment and eat at a later date. My love for ferments goes back to childhood. We almost always ate fermented and fresh food only, because my father was against refrigerated foods. Our diet consisted of whole foods made from scratch at home only.
Above all, fermented food is easier to digest and good for your gut too as ferments add those beneficial bacteria for your gut health.
Lets dive into the recipe. All you need for vegetable fermentation is salt, veggies and water.
Scroll down for printable recipe card.
TOOLS NEEDED FOR MAKING FERMENTED CUCUMBERS
Disclosure: This post contains affiliate links, meaning, at no additional cost to you, we will earn a small commission if you click through and make a purchase. Learn more
The above tools really helps to get a successful ferment. I had to buy the above things, mainly because, these helped me in making a mold free fermentation. Previously, I tried to do without and it just went to the compost.
HOW TO MAKE HOMEMADE PICKLES VIDEO
HOMEMADE PICKLE INGREDIENTS
4 Medium sized cucumbers
2 Liters of filtered water
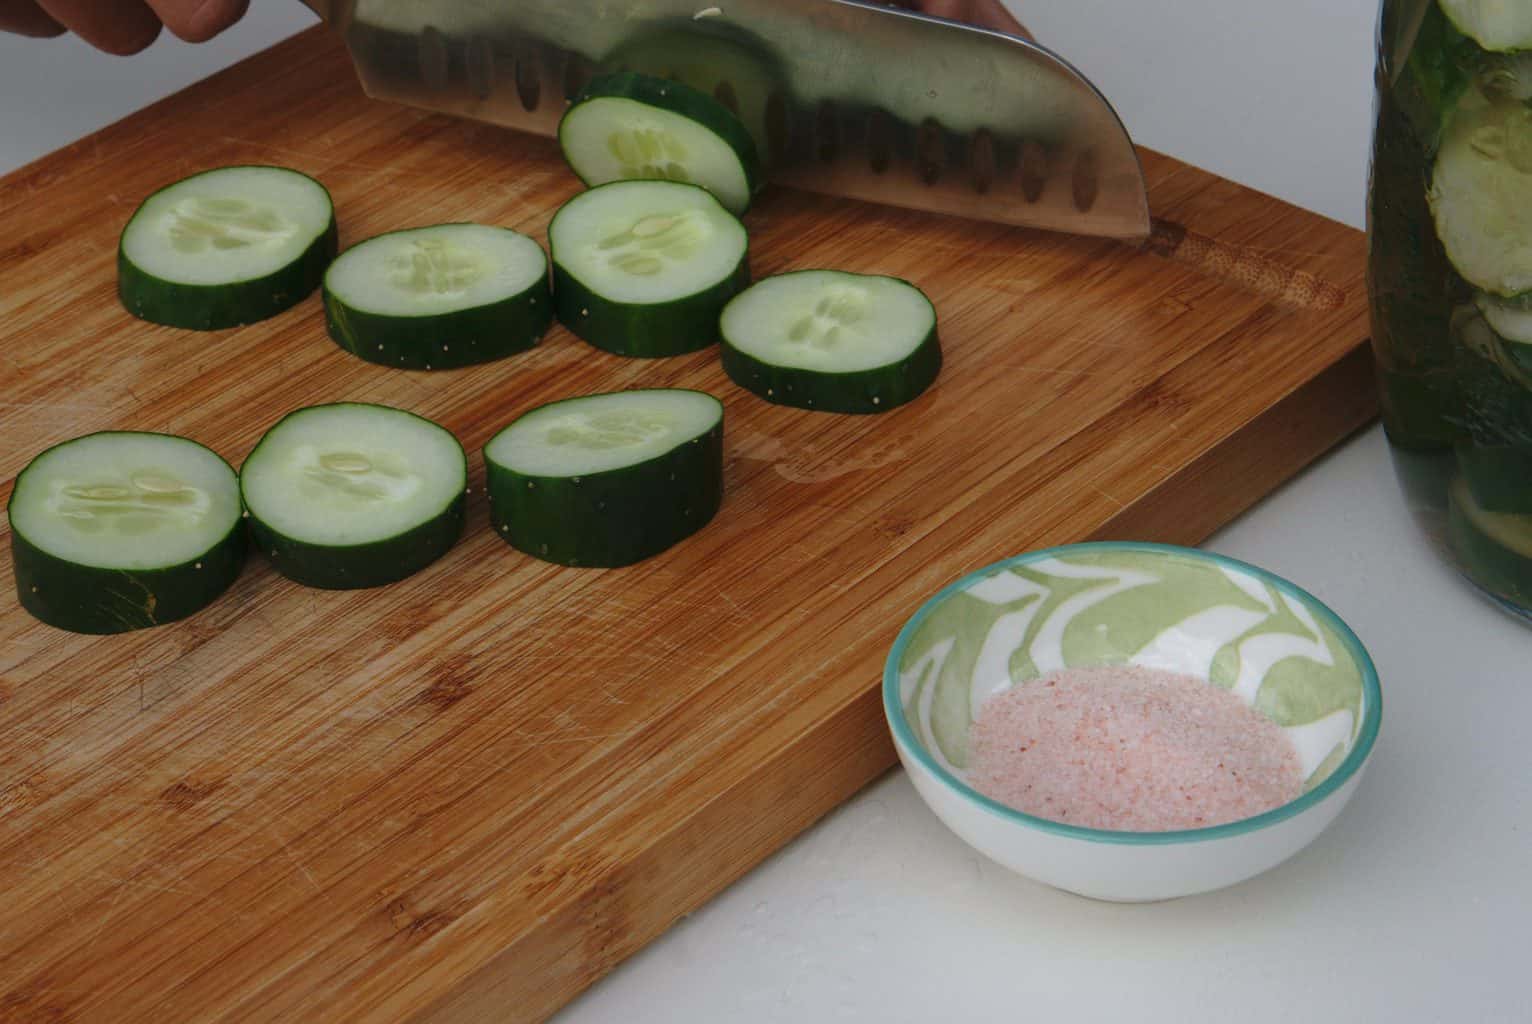
4 Tablespoons of Himalaya pink salt (non- fluoridated salt )
METHOD
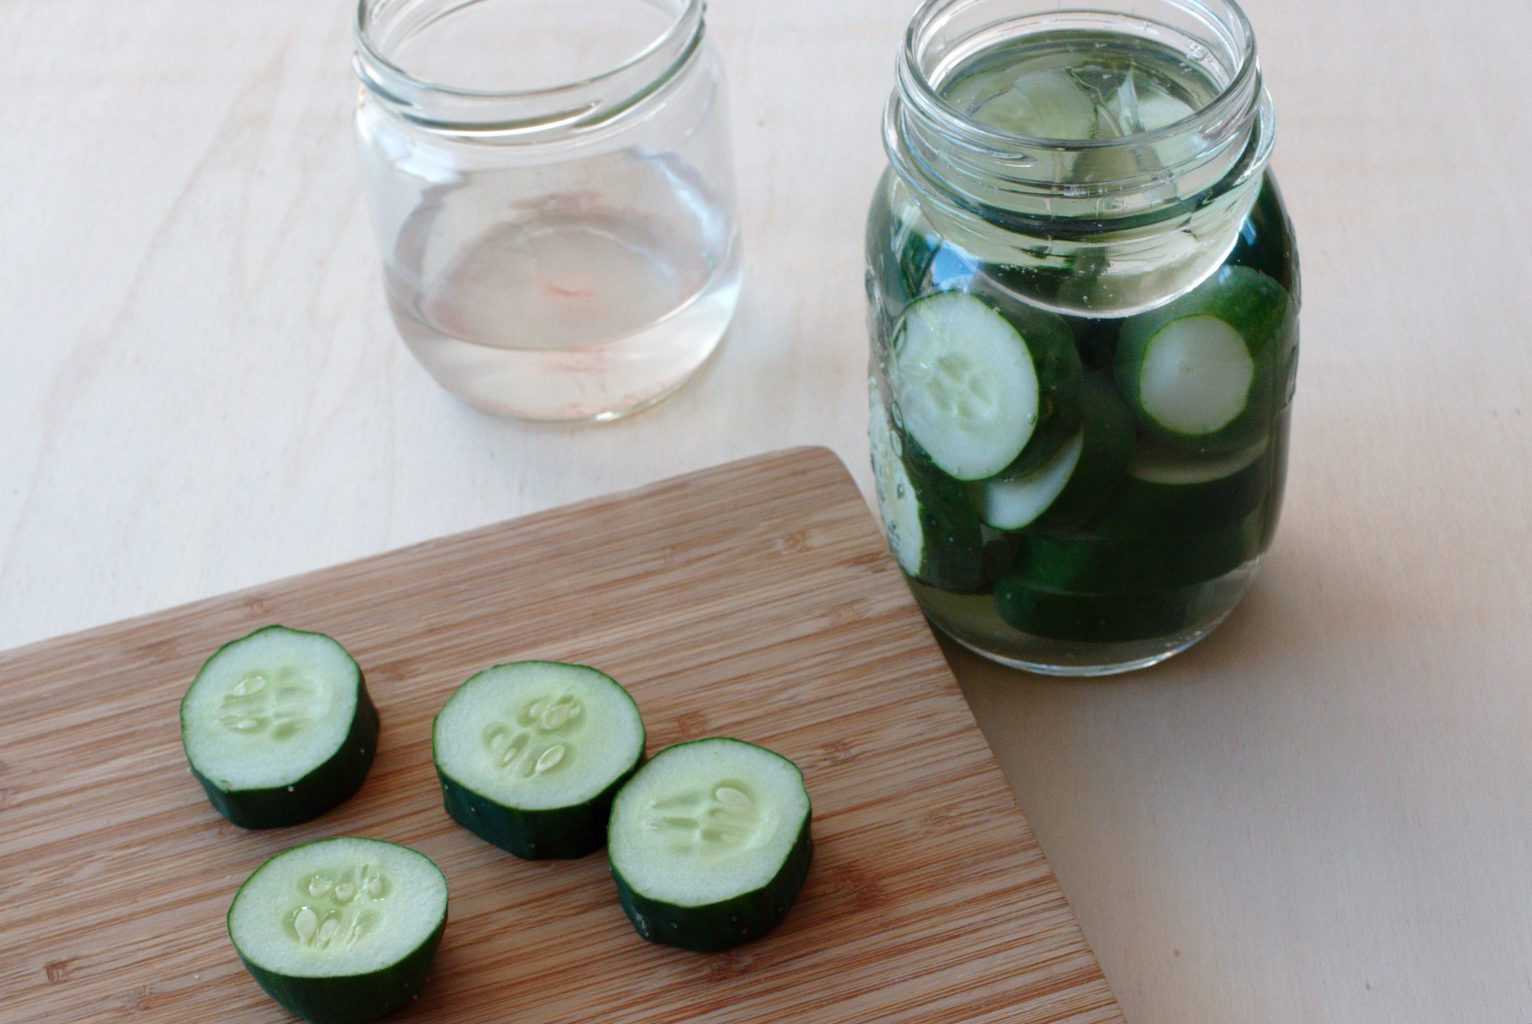
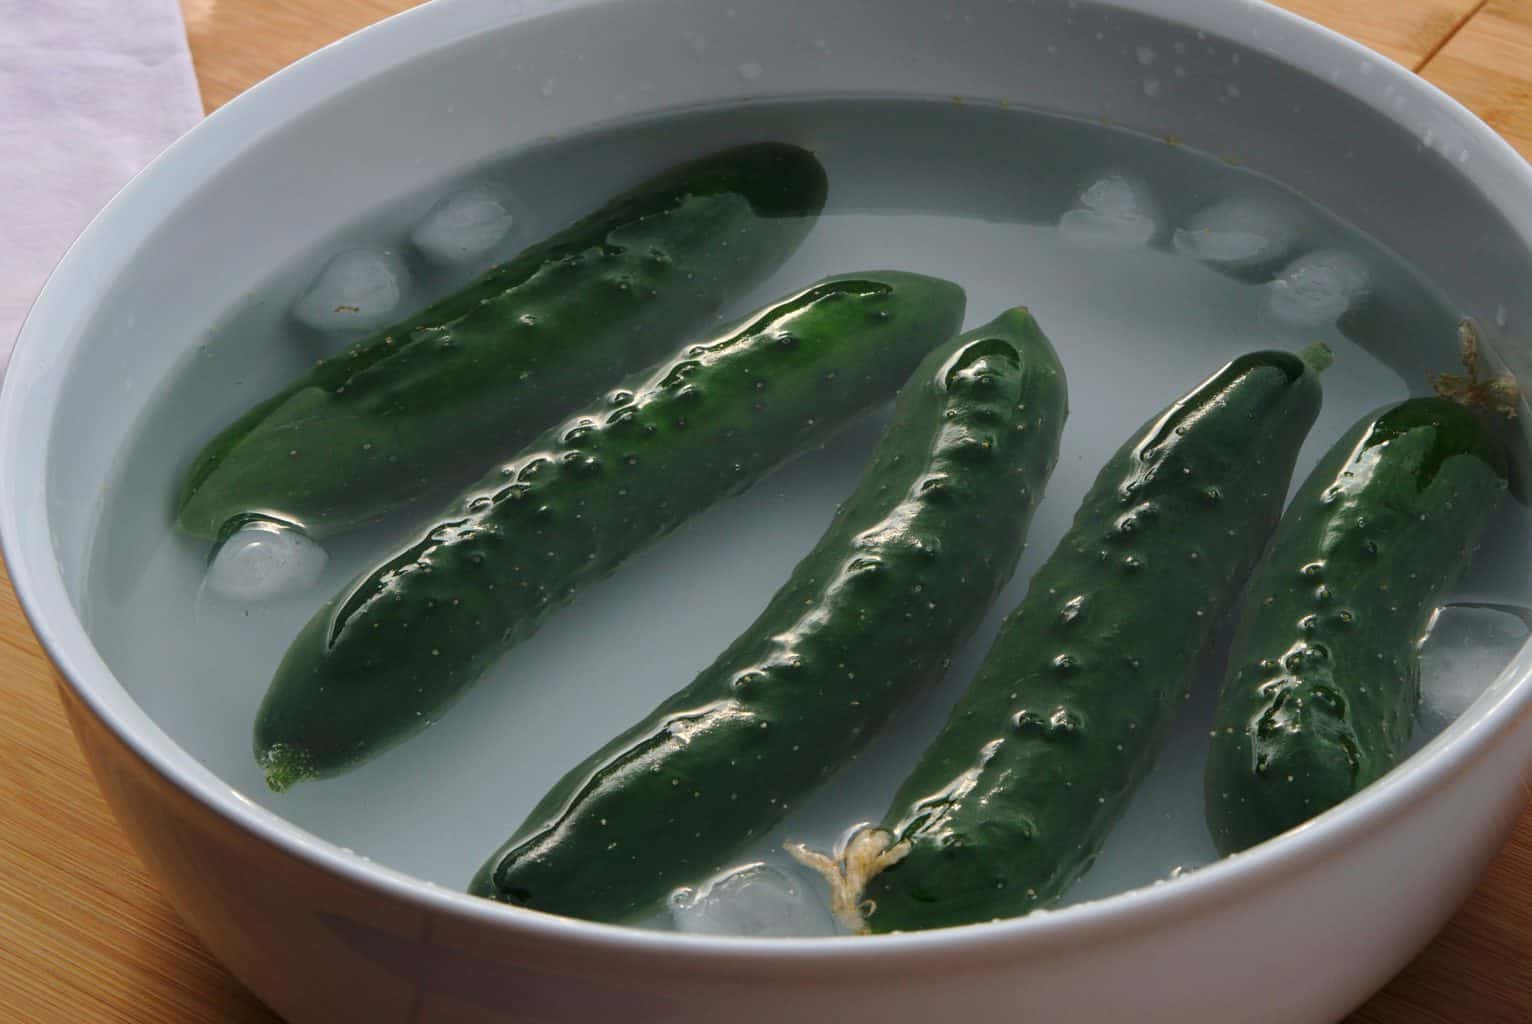
Since we need crispy cucumbers, place the cucumbers in a bowl of ice and water for about 30 minutes.
Slice the cucumbers to about 2 cm in thickness.
Heat half the water and add the salt into it and dissolve it thoroughly.
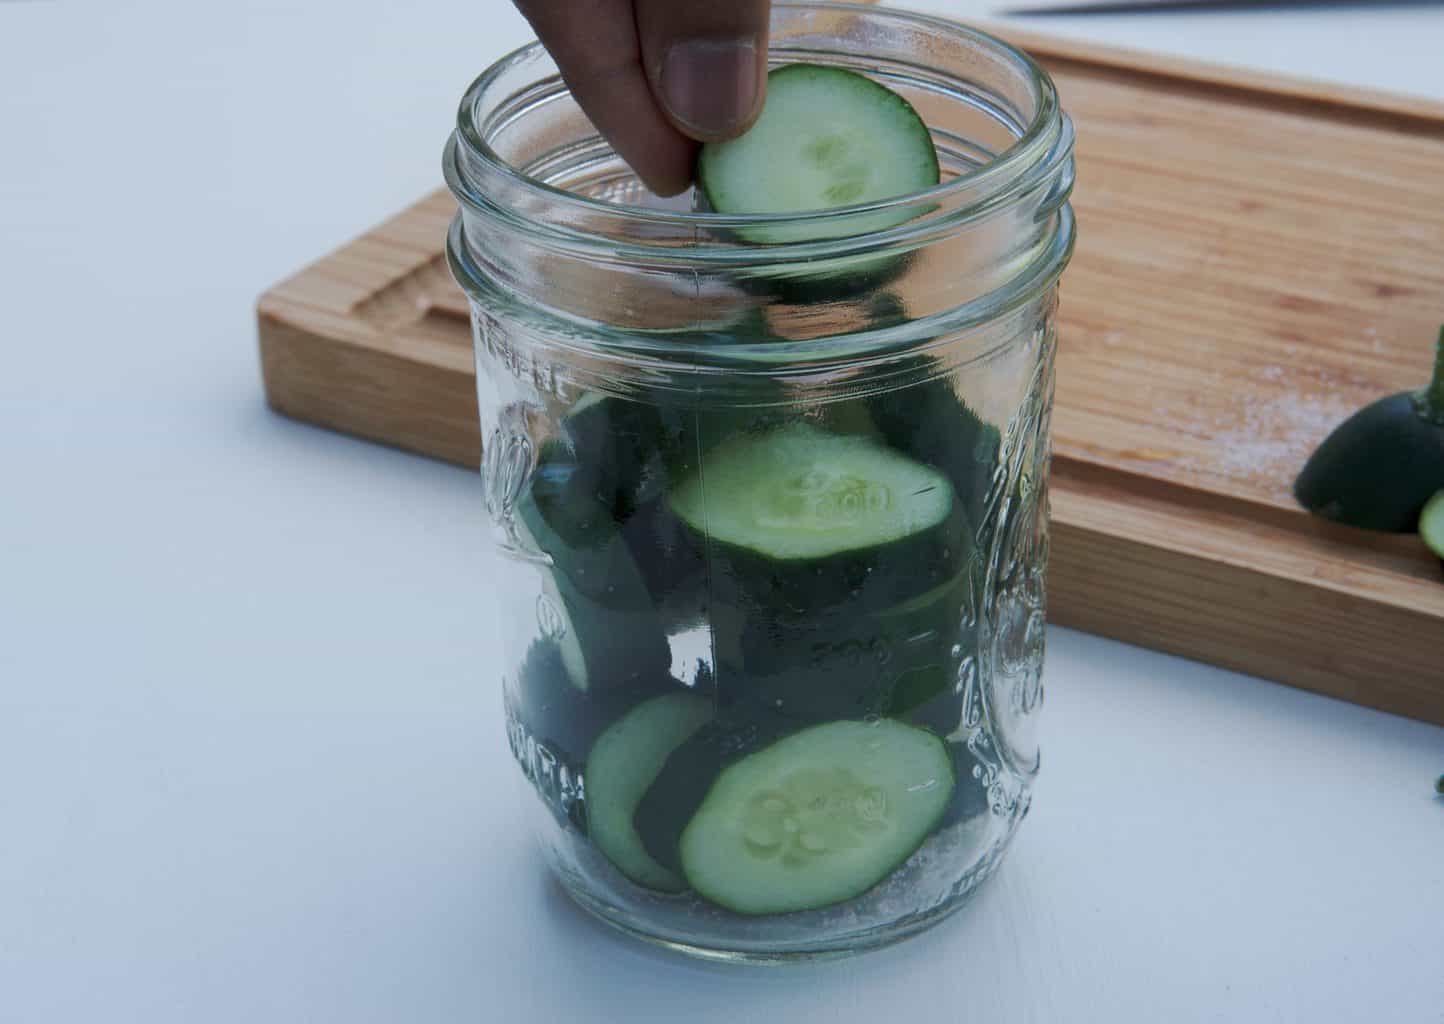
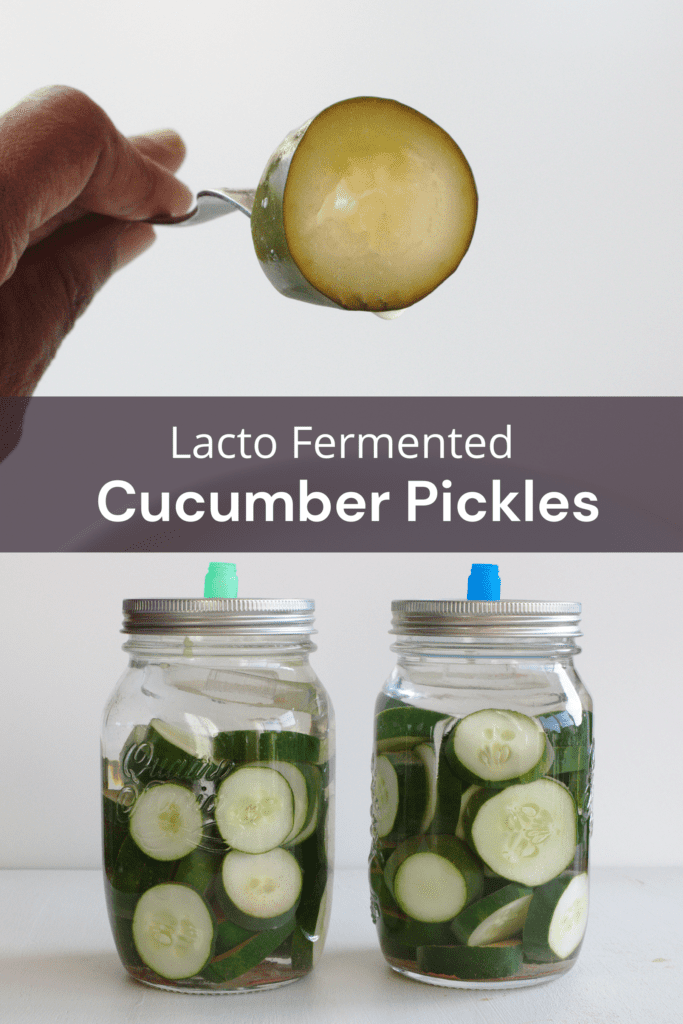
Place the sliced cucumbers into sterilized mason jars.
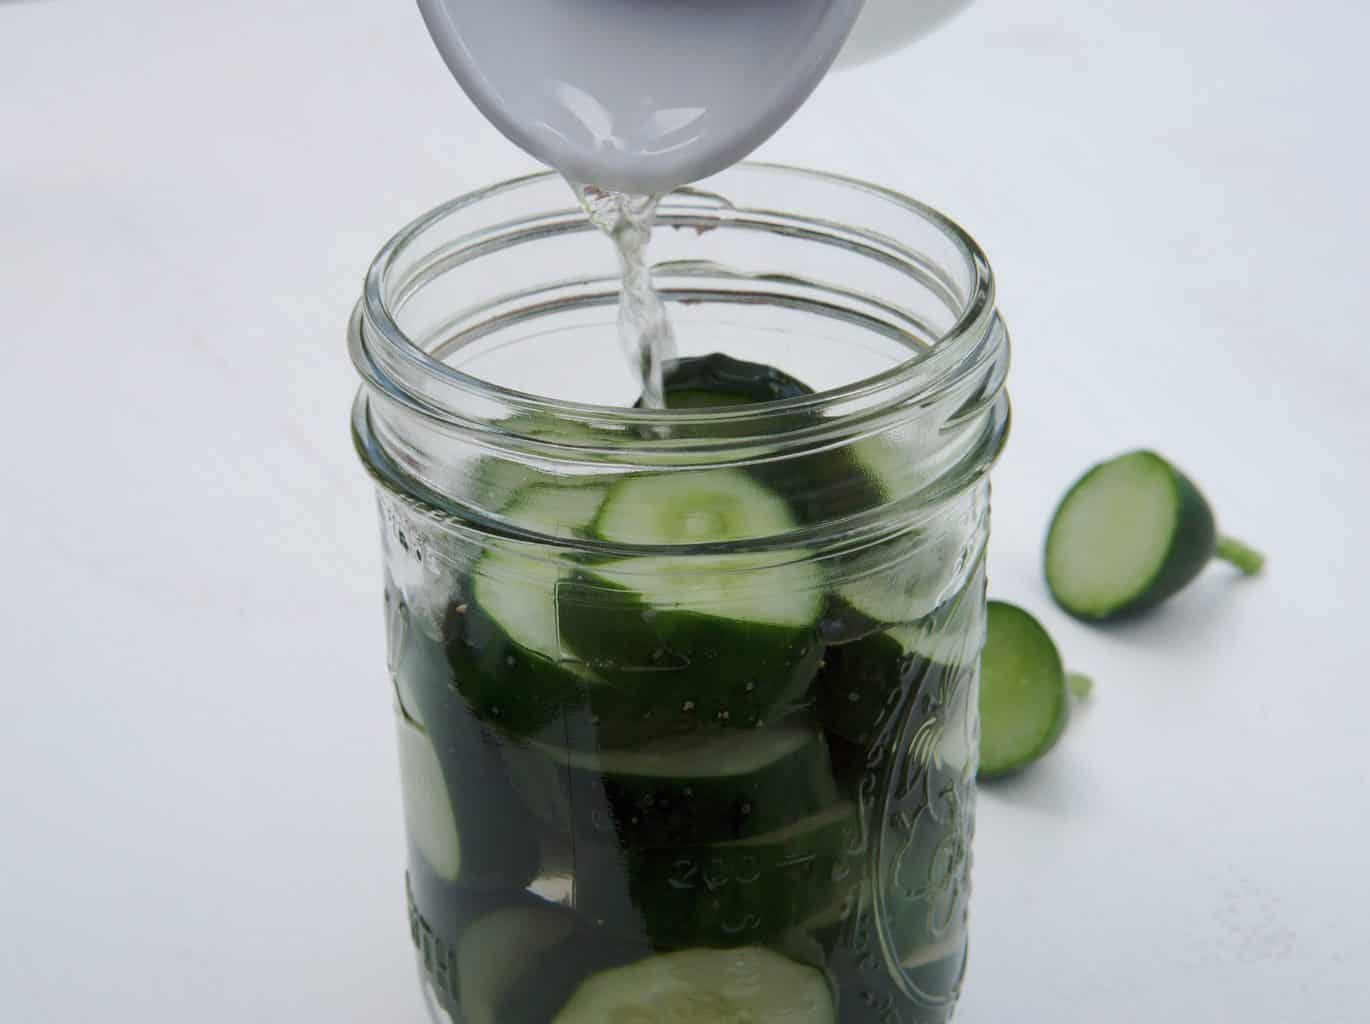
Cool the salt water and pour into the jar of sliced cucumbers. Fill it the rest of the way with filtered water.
Add the fermentation weight to keep the sliced cucumbers under the brine. If you don’t have a fermentation weight, just sterilize a rock and place it into a ziploc bag, so that the stone is not in contact with the ferment. After the cucumbers are weighted down in the salty brine, close with the fermenting lids.
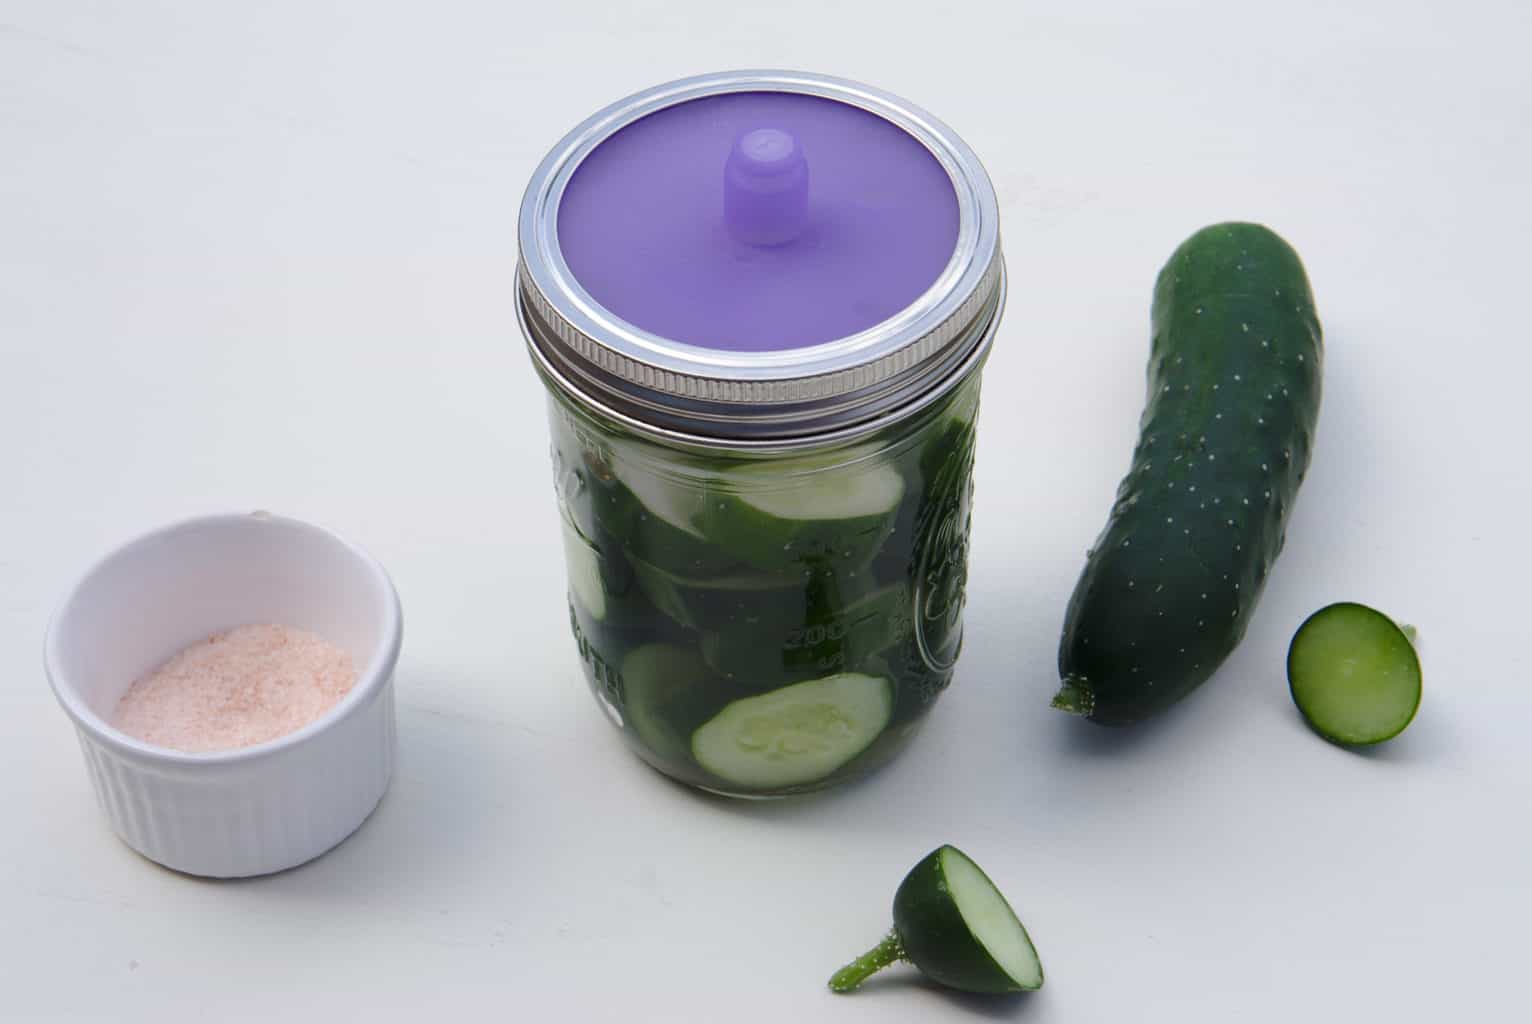
If you don’t have these fermenting lids, no worries, just don’t screw the lid on too tightly. Because fermenting creates some natural gases and they need to escape. Make sure you keep it covered to prevent ants and bugs from getting into the pickles.
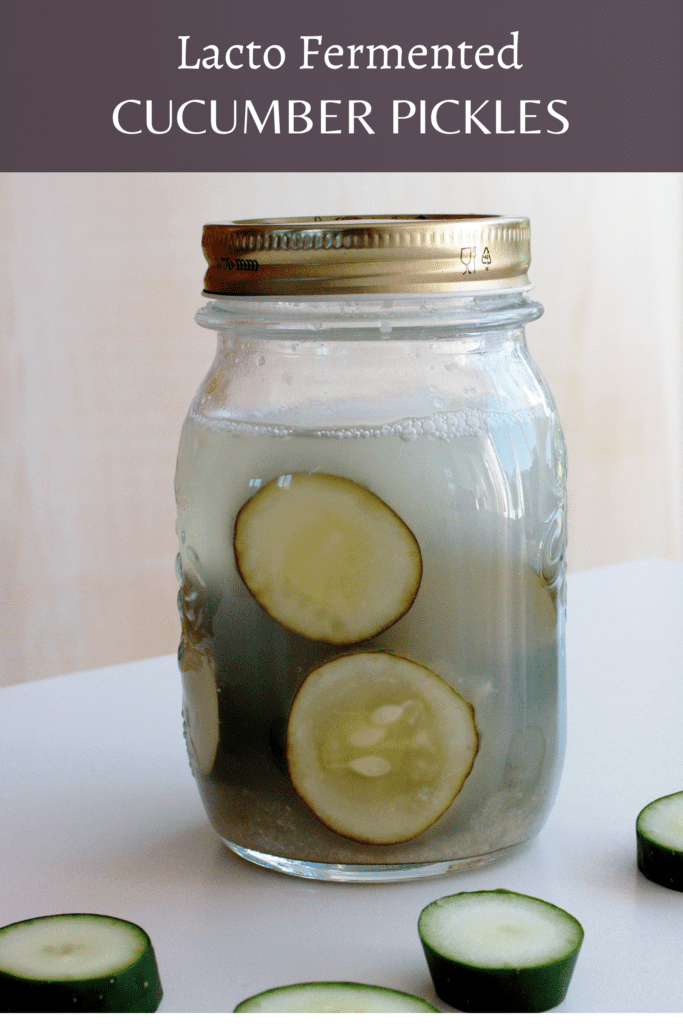
After five to 6 days, the cucumbers will change color and they will taste perfectly pickled.
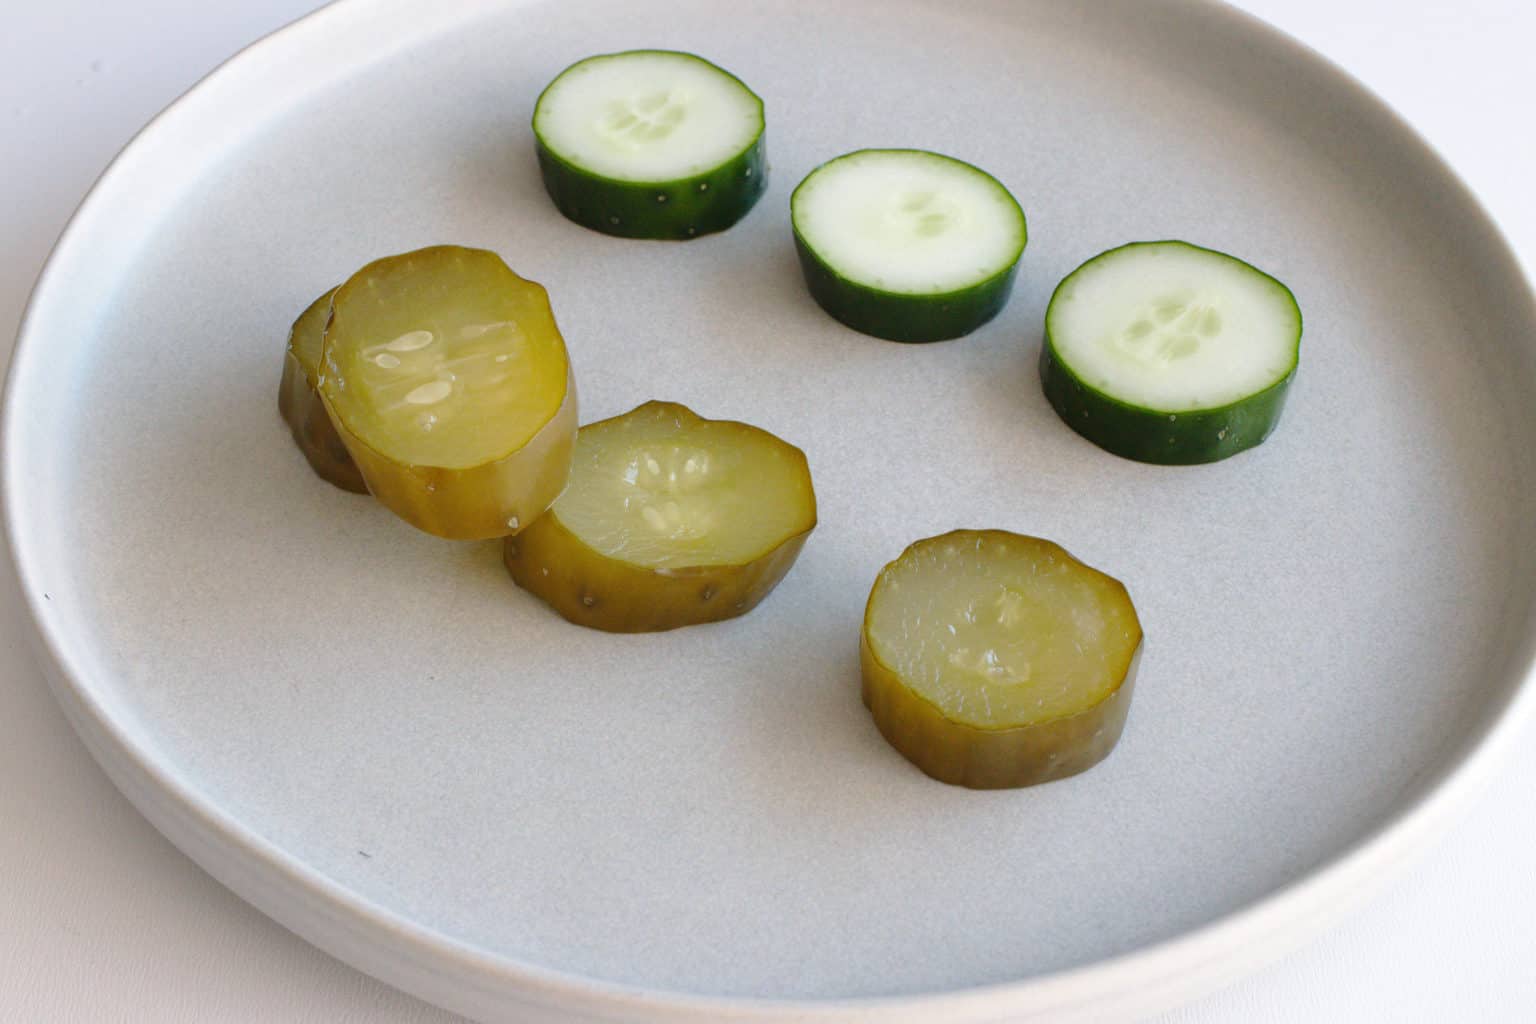
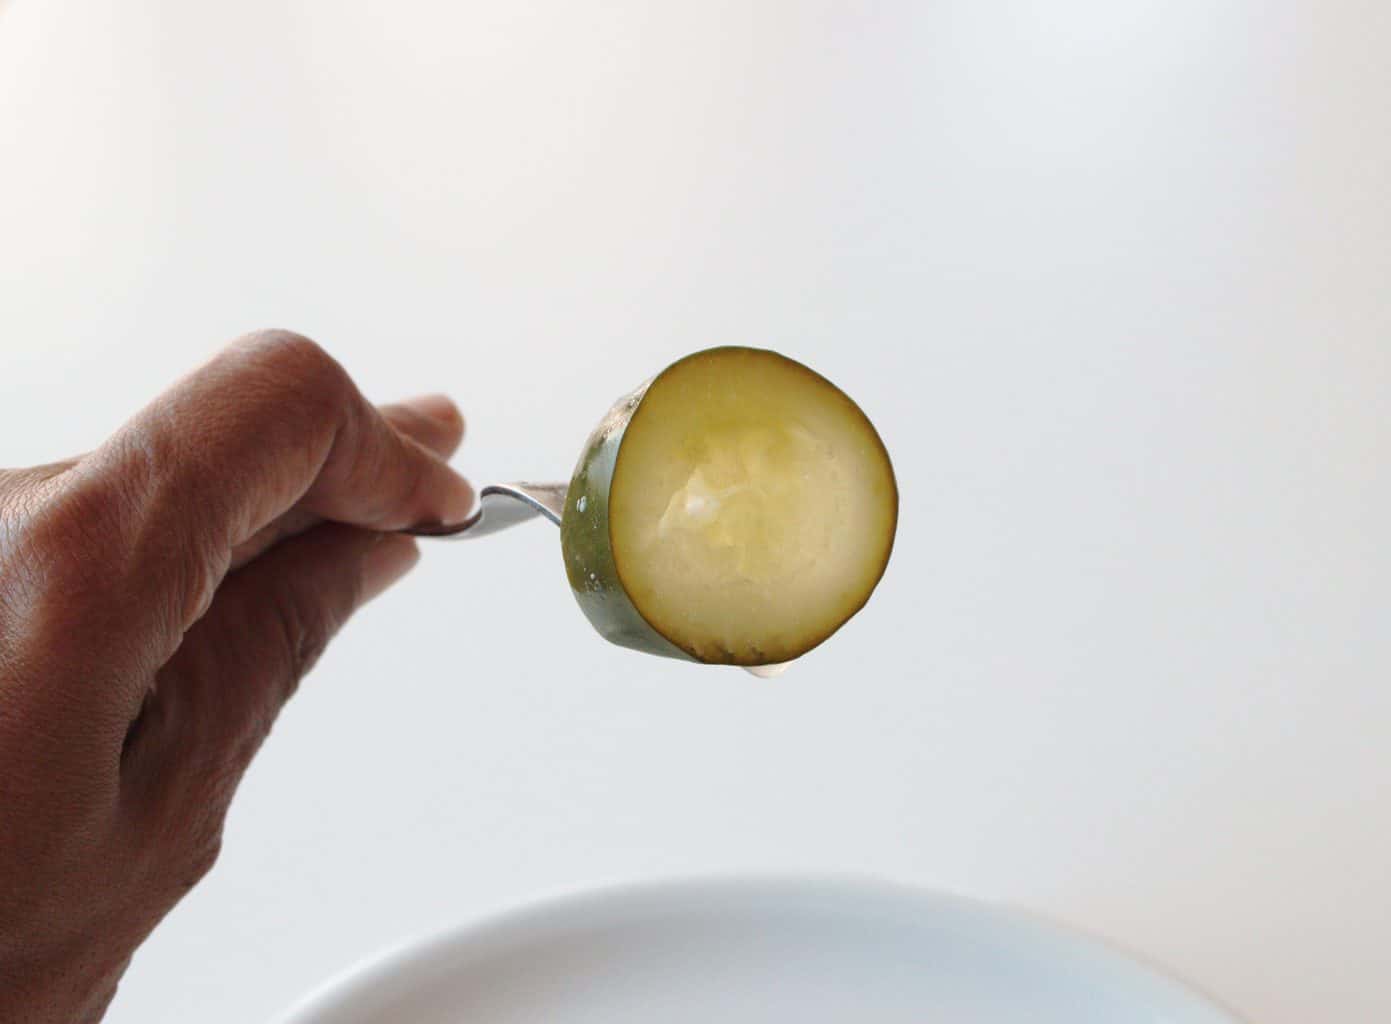
After the color has changed, take one out and try it. If it is sour enough for you, put the lid on tightly, and store the jar in the fridge. If you would like a little more sour, leave them out at room temperature to ferment a little longer. By the time I could photograph the ferments, the pickles were almost too soft.
NOTE: It is normal for the brine to get cloudy. This is a natural byproduct of vegetable fermentation and don’t worry its not mold.
Check out article for trouble shooting and questions regarding fermentation process.
VARIATIONS FOR EASY HOMEMADE FERMENTED PICKLES
- Add in some freshly cut onions to the cucumbers for extra flavor.
- You can throw in some fresh dill herbs or parsley leaves.
- Traditionally here in Europe they also add a few Juniper berries to the ferments.
Your feedback is valuable
Did you like Easy homemade fermented pickles recipe ? Leave me a comment, I’d really love to know! Also Tag me on Instagram @swisshomegardenofficial
Have some feedback you’d like to share? Leave a note in the comment section below!
Thank you so much for visiting Vial Fair Living – we’re so happy you’re here! and thanks for taking the time to read this post. I would love it if you can share this recipe using the social media buttons you see next to the post and give this recipe a 5 Star rating.
PIN IT FOR LATER

Ingredients
- 4 Medium sized cucumbers
- 2 Liters of filtered water
- 4 Tablespoons of Himalaya pink salt (non- fluoridated salt )
Instructions
- Place the cucumbers in a bowl of ice and water for about 30 minutes.
- Slice the cucumbers to about 2 cm in thickness.
- Heat half the water and add the salt into it and dissolve it thoroughly.
- Place the sliced cucumbers into sterilized mason jars.
- Cool the salt water and pour into the jar of sliced cucumbers. Fill it the rest of the way with filtered water.
- Add the fermentation weight to keep the sliced cucumbers under the brine. If you don't have a fermentation weight, just sterilize a rock and place it into a ziploc bag, so that the stone is not in contact with the ferment.
- After the cucumbers are weighted down in the salty brine, put the jar fermentation lid on.
- If you don't have these fermenting lids, just don't screw the lid on too tightly. Because fermenting creates some natural gases and they need to escape.
- After five to 6 days, the cucumbers will change color and they will taste perfectly pickled.
- After the color has changed, take one out and try it. If it is sour enough for you, put the lid on tightly, and store the jar in the fridge.
- If you would like them a little more sour, leave them out at room temperature to ferment a little longer.
2 comments
(PLS EXCUSE CAPS, SIGHT ISSUES) THANKS SO MUCH FOR THIS! I’VE JUST HARVESTED THE LAST OF MY CUCUMBERS AND HAD ZERO IDEA WHAT TO DO WITH SO MANY:/
I WILL TRY THIS OUT, FINGERS CROSSED IT WORKS FOR ME. IT SOUNDS EASY BUT I’VE NEVER FERMENTED ANYTHING BEFORE.
It will work. I hope you have those special lids and weights, for me it was a game changer. Since I have them, they always work. Its nice if the cucumbers are a little crisp. I still have 1 last bottle in my fridge from the last fermentation. LOL