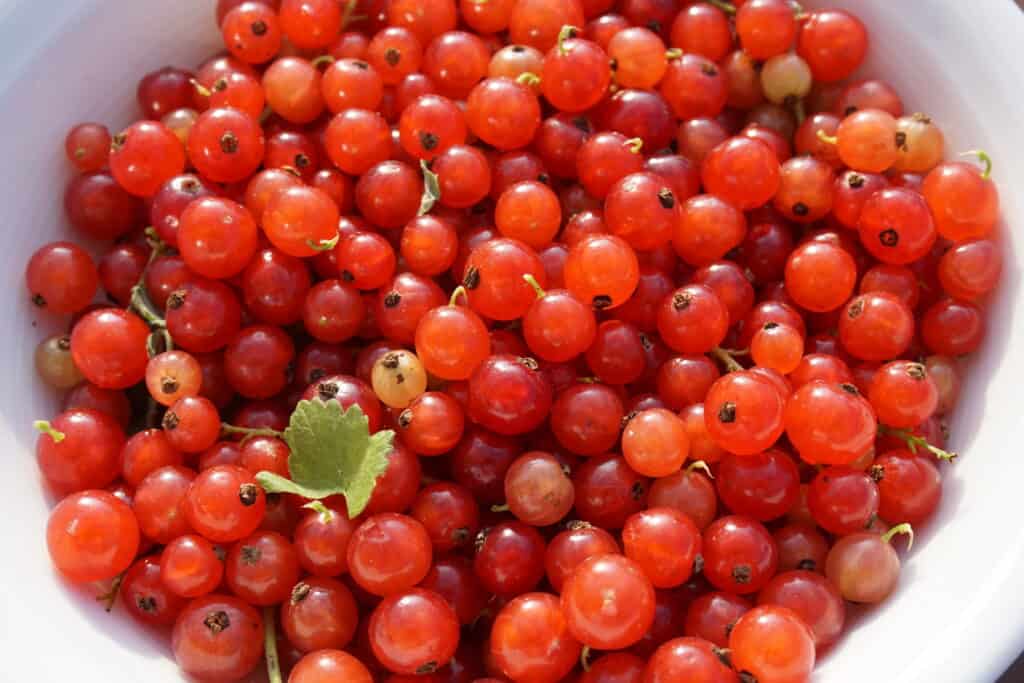
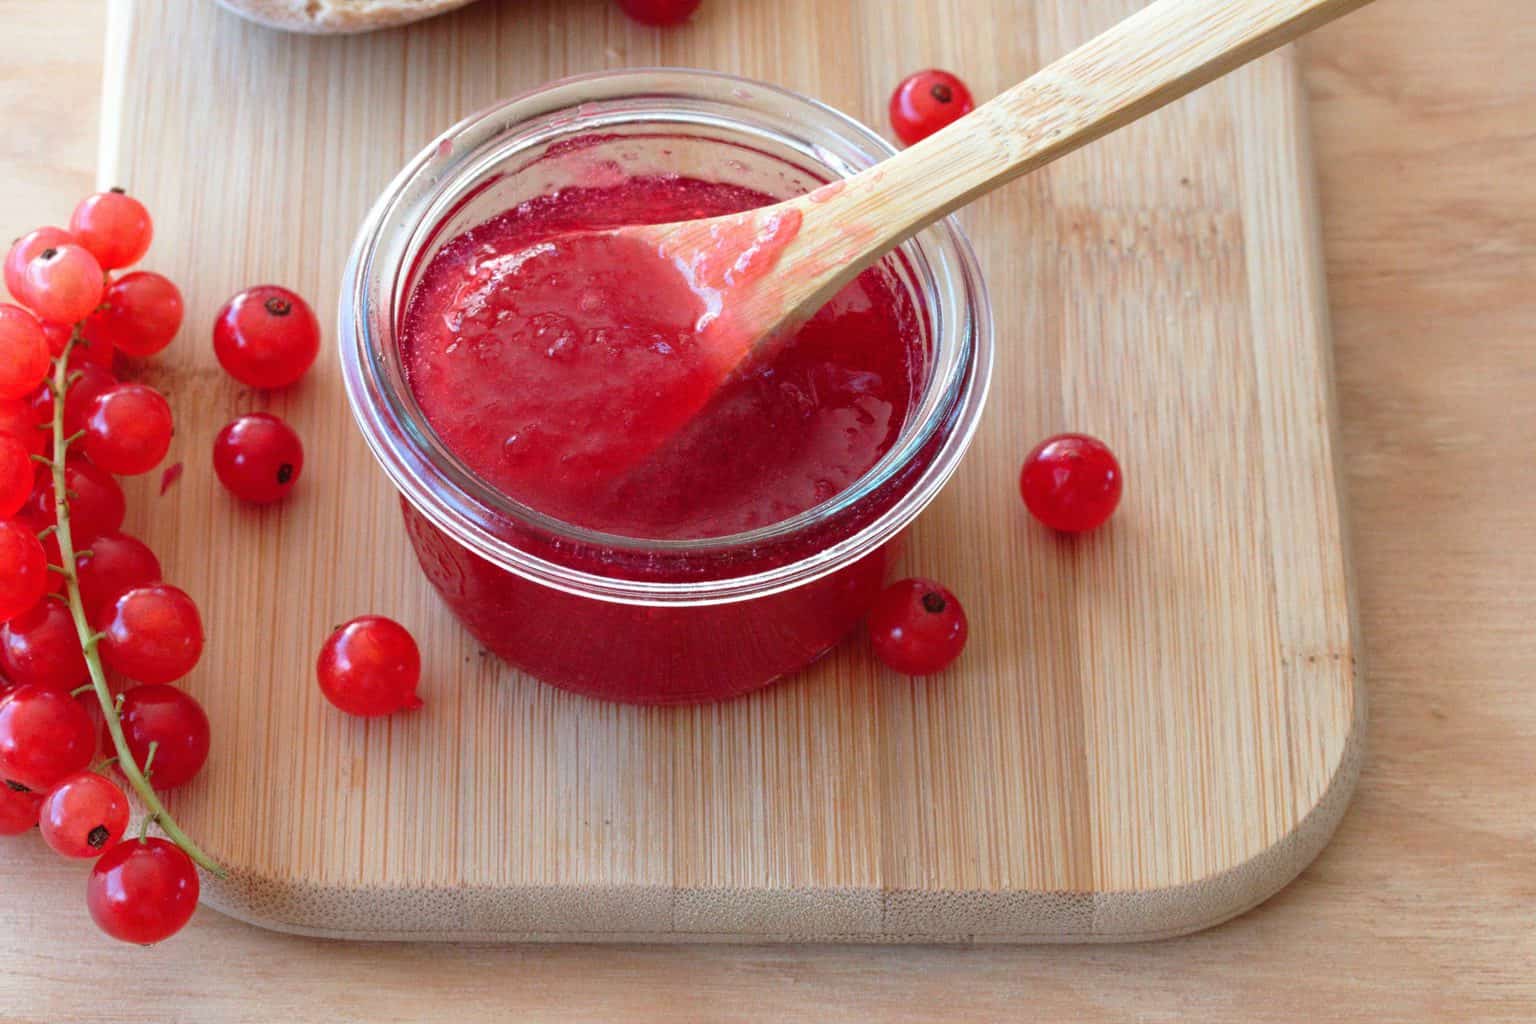
Redcurrants are now in season, in this blog post you will learn how to make Redcurrant Jam in small quantities. I will also be giving you a tip on how to remove the berries from their stalks easily without much effort. After having posted the Redcurrant Jam Recipe recipe last year on this blog, it was time to tweak the recipe a little to make the jam without much effort.
Redcurrants or Johannisbeeren
The Redcurrant or red currant ( Ribes Rubrum) is a member of the genus Ribes in the gooseberry family. The plant is native across western Europe. This redcurrant species is widely cultivated and grows wild in many regions.
Redcurrants are known as Johannisbeeren in German. Why is this berry called Johannisbeer in German? Because Redcurrants starts to ripen on June 24, and June 24 is believed to be the birthday of John the Baptist, hence the name is derived to mark that occasion. The ripening of these beautiful red berries also mark the beginning of summer in the northern hemisphere.
In Switzerland, the berry harvest has already peaked at least in the valleys. I remember last year when we visited Schwaiben Alp end of July, they were yet to ripen. So one can say it depends very much on the sub climate also within Europe.
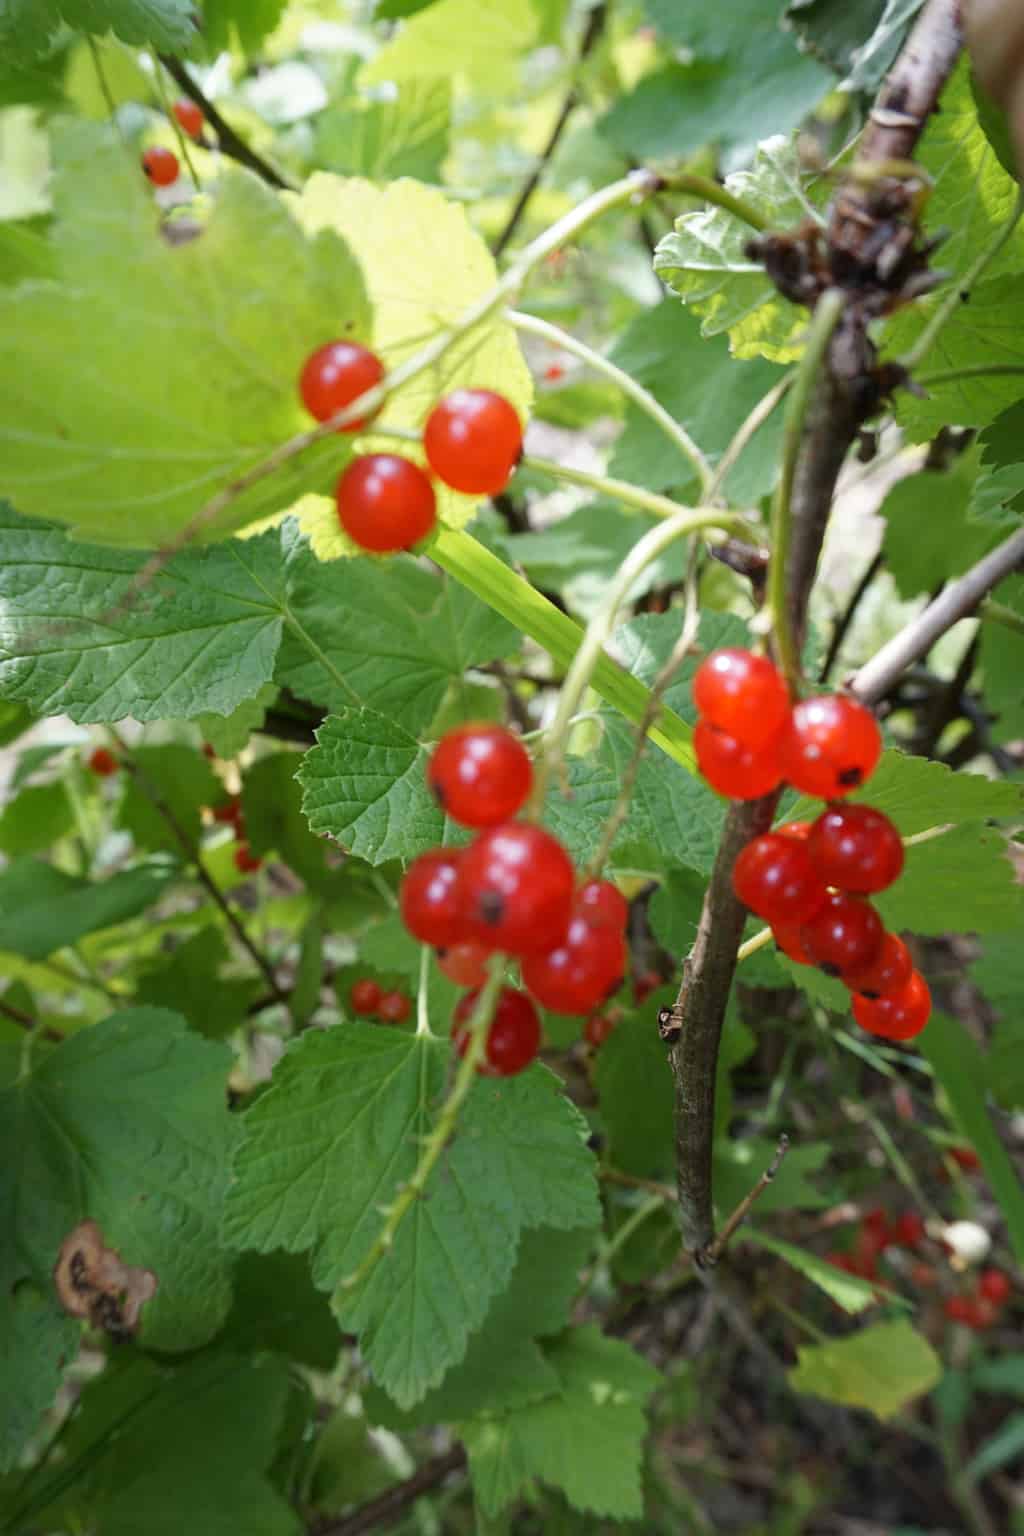
How to harvest Redcurrants
The berries hang like bunches of grapes in the bush. You just have to pull up the bunch opposite to the direction the berries hang. Harvest them when they are thoroughly red in color. If you wait too long they just fall on the ground or the birds will pick on them.
What we usually do is wait for the berries to turn red and still firm. I ripen them a couple of days on the kitchen counter before making the jam. That way I don’t loose too much of these precious berries.
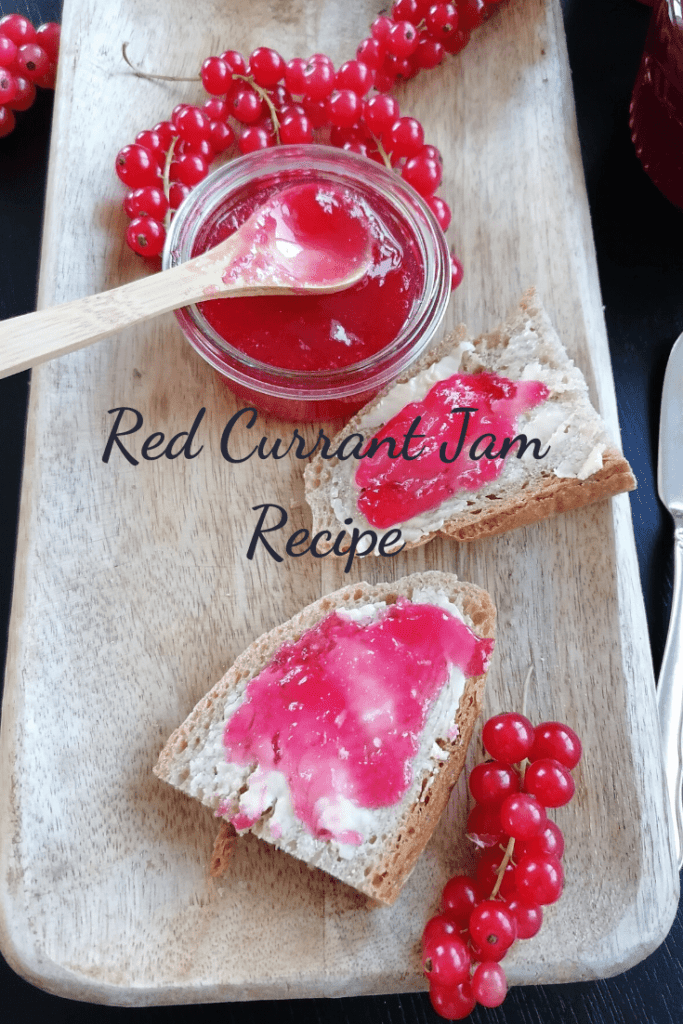
How to make Redcurrant Jam from Scratch
I have already posted one such Redcurrant Jam recipe last year in this blog. This is the most visited blog post and Video tutorial on my channel right now.
I have tweaked the recipe a little in this post and also found an easy method to remove the berries from their stalks.
If you want to skip the post and dive into the video tutorial, click on the video.
How to make Redcurrant Jam Recipe Video Tutorial
How to separate Redcurrants from their stalks and wash the berries ?
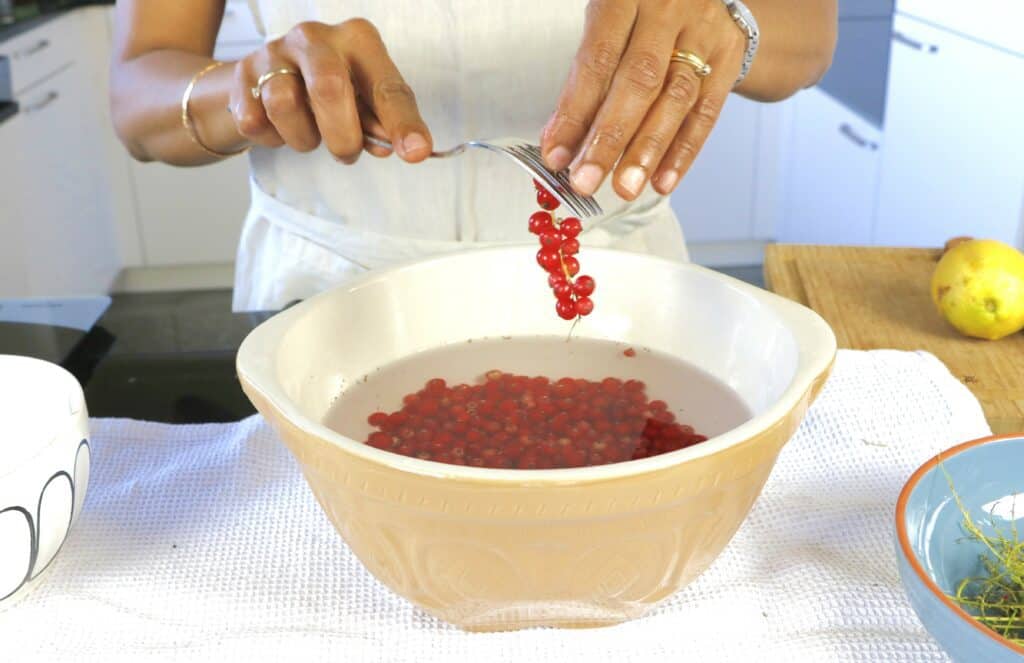
Sometimes we don’t have helpers in the kitchen. So I figured out an easy way to remove the berries from their stalks using a fork. Just hold the fork on the tip of the stalk and pull it lightly. The berries will fall off easily. The berries should not be washed under running water. So best is to have a large bowl of water and do the process of separating the berries from the stalks. They will fall into the water and you can rinse them easily. Change the water a couple of times to wash them thoroughly before using the berries. Now lets dive into the recipe.
Tip
- Although I mention jam sugar in the video, its not necessary to add jam sugar for this recipe. Since red currants are high in pectin, normal castor sugar will do. If you add jam sugar, don’t thicken and cook the jam for very long. The jam sets very quickly.
- For doing the plate test, set a plate in the freezer. That way you can see how quickly it sets. Because, this jam sets very quickly.
How to make Redcurrant Jam Recipe
Ingredients:
500gm of Redcurrants after removing the stalks and washing
250 gm of sugar (Proportion of sugar to fruit 1:2)
1 tsp of lemon juice ( or 1/2 tsp of citric acid)
25 ml of water
Method:
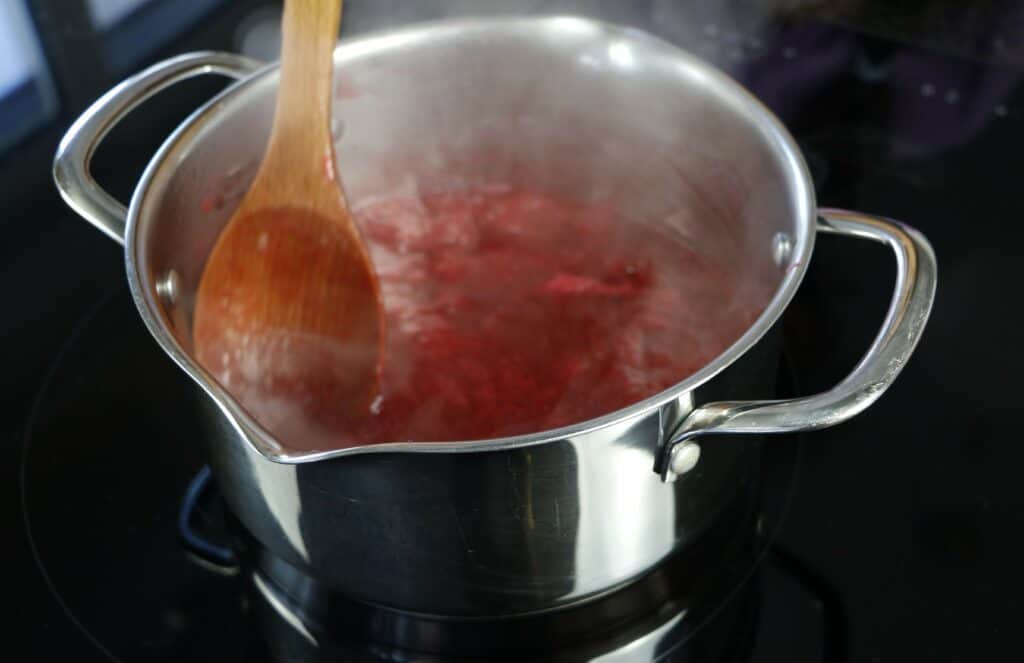
Mix all the ingredients into a heavy bottom pot and set it on medium heat.
After all the sugar has melted the fruit will start cooking.
Optional
If you want to puree this mixture, you can do it now. Pass the jam mixture under a medium sieve to remove the skin and seeds. There will not be much of it anyway, but this will add a smooth texture to the jam. Next return the jam mixture back on the stove top and cook under medium heat.
In about 10 min. or so it will start thickening.
Reduce the heat and keep stirring because we want to avoid the jam from burning and get an even consistency.
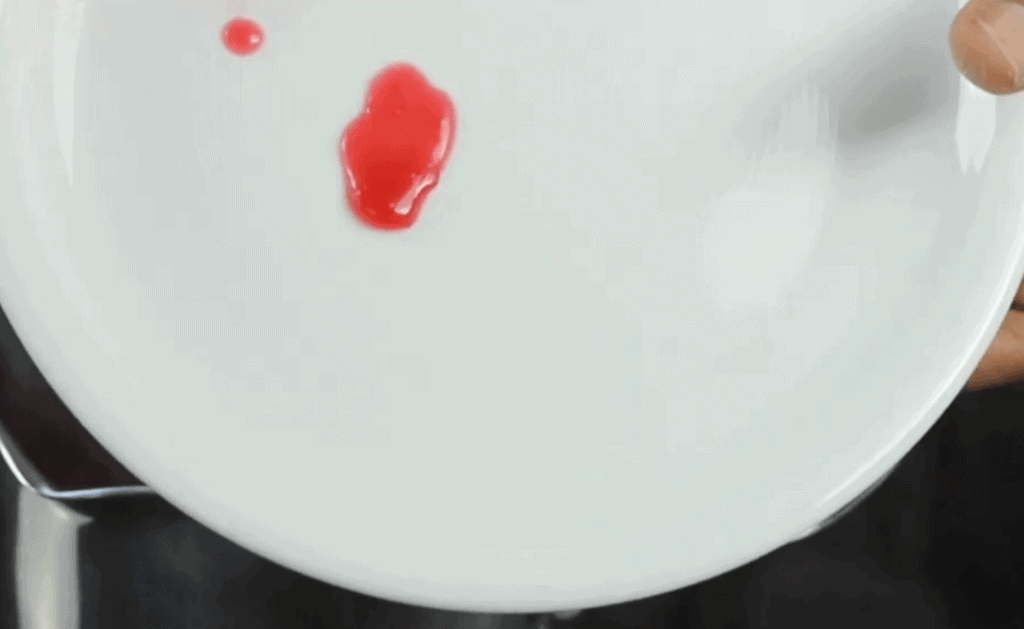
How to test if its ready for bottling?
Add a few drops to a plate and tilt the plate slightly. If the jam flows then its not yet ready.
Repeat the process till the jam stops flowing. Now its ready for bottling.
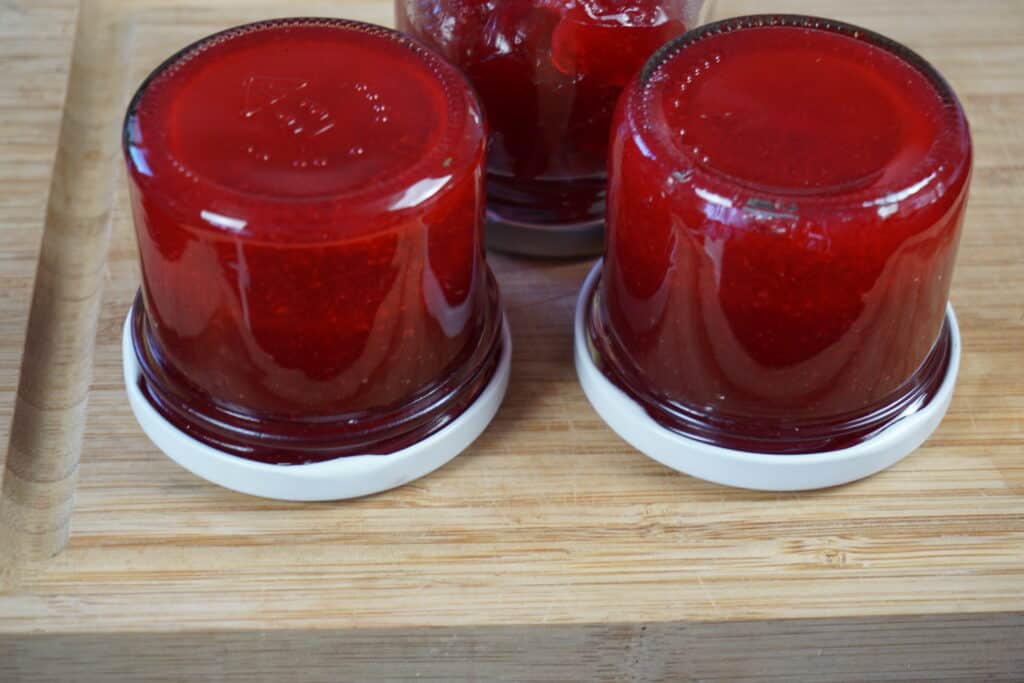
Switch off the heat. And set all the sterilised jars on a tea towel.
By filling the jam on a warmer surface will help in preventing the jam jars from cracking.
Fill the jars to the brim and close the lid tightly. Turn the jars upside down on the tea towel or a wooden board for about 10 min.
Turn them back with the lid facing up. The steam when cooled helps in creating a vacuum which will preserve the jam for long.
Printable Recipe Card
After all the sugar has melted the fruit will start cooking. 
Ingredients
Instructions
PIN IT FOR LATER
3 comments
Hi to all, how is everything, I think every one is getting more
from this site, and your views are fastidious in support of new visitors.
Feel free to visit my web page :: deta 8 vapes
Thanks.
Thanks. What a coincidence, we also have a cbd online shop here. But its so difficult to get by, so many restrictions although its legal.