
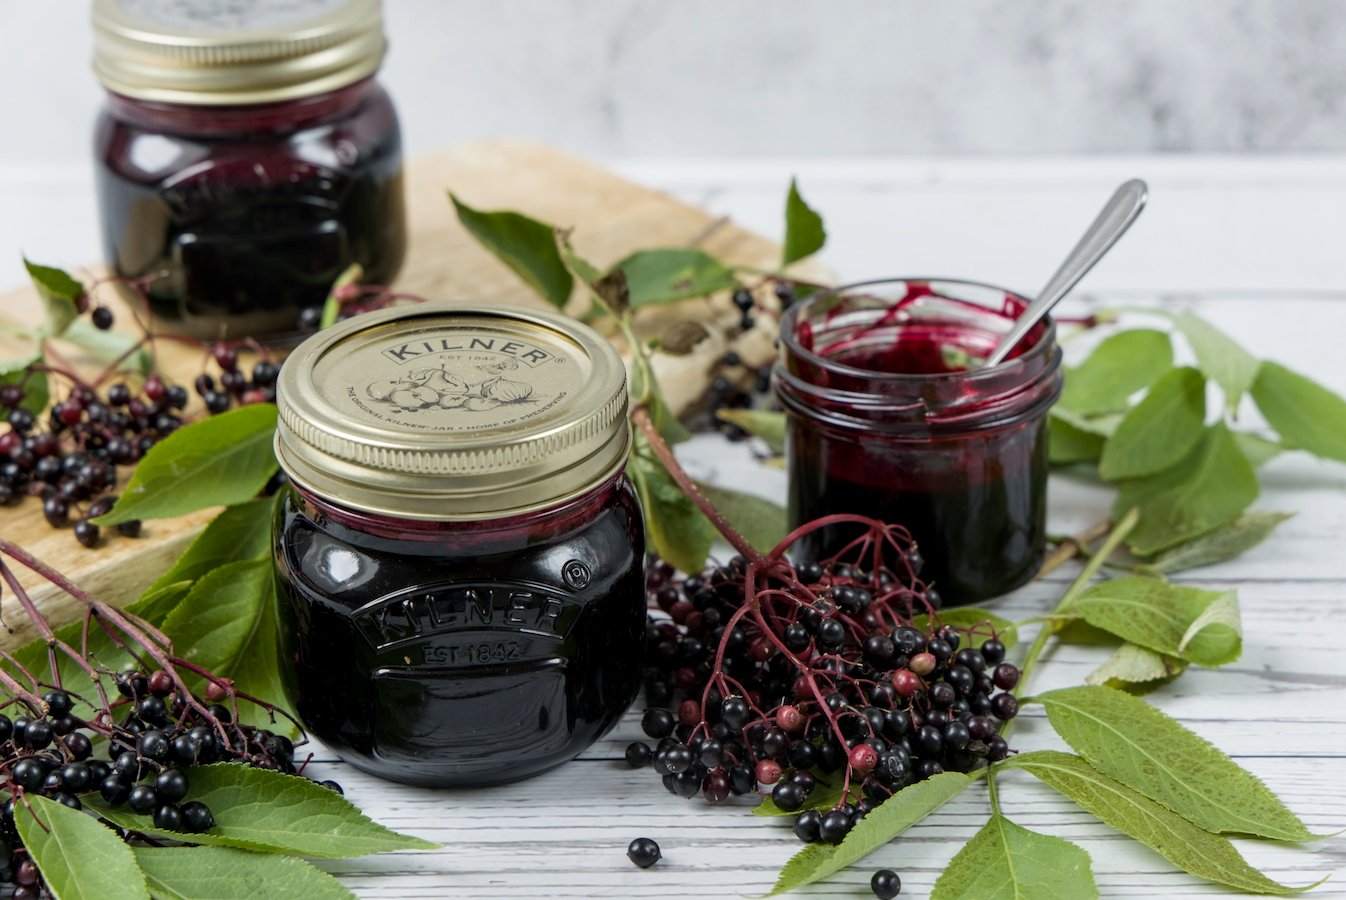
This homemade easy elderberry jelly recipe is the perfect ticket to preserve the goodness of your summer abundance. There’s nothing quite like turning freshly picked elderberries into a delicious jelly. Due to their deep purple color and wonderfully fruity, slightly tart flavor, elderberries make a delicious preserve that’s perfect on toast, scones, fresh bread, or served alongside cheese.
This recipe uses fresh elderberries and jam sugar, making it wonderfully simple. The jam sugar helps the jelly set while the natural flavor of the berries remains the star of the show.
Since, we have 3 elderberry trees in our garden, we have an abundance of elderberries. I make our harvest last longer by converting them into different recipes like – Elderberry cough syrup, Elderberry compote, Elderberry jam and jelly.
I realized a while back that I haven’t shared this family favorite yet, so this flavourful jelly deserves a post. Its so easy to make, despite the time it needs but I promise you the effort is worth it.
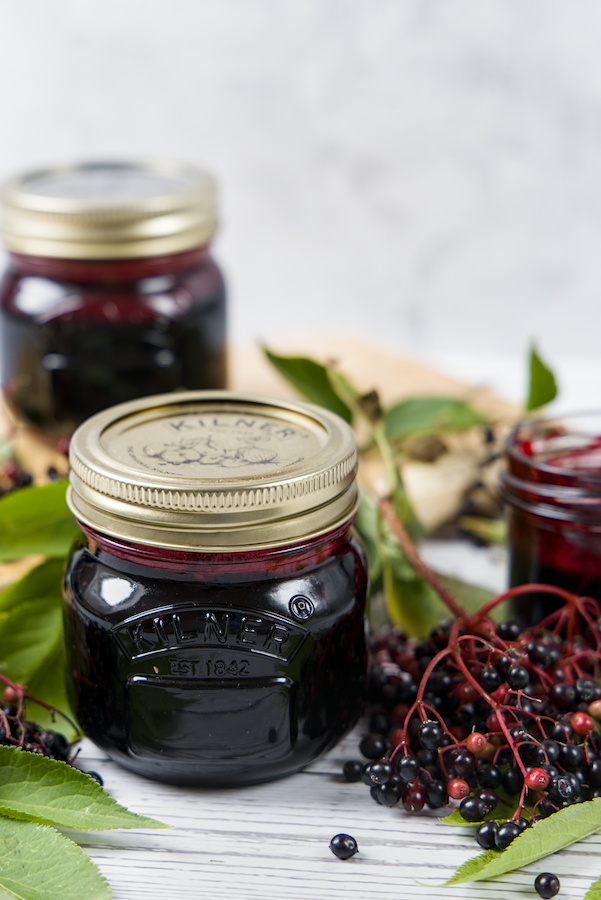
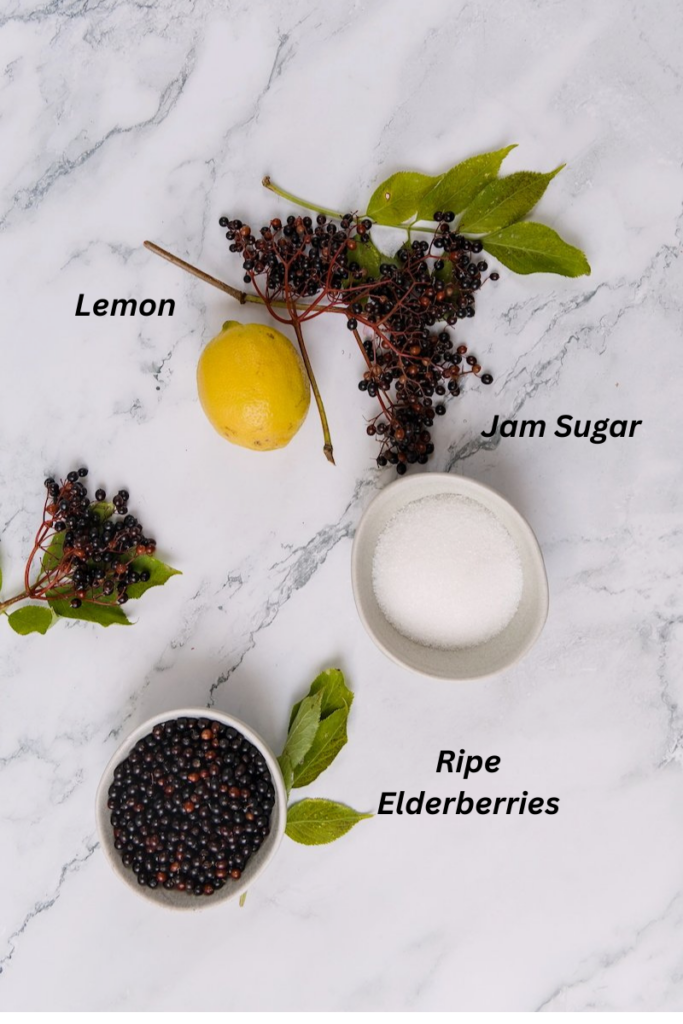
Ingredients needed for making Elderberry Jelly Recipe
- Freshly picked ripe elderberries
- Jam sugar
- Water
- A little lemon juice, if desired
The amount of jam sugar depends on how much elderberry juice you obtain. A good starting point is to follow the ratio stated on your particular packet of jam sugar, as different brands can vary.
I use the one, which has a ratio of 1:2 called Gelierzucker from Coop. For 2 parts of fruit 1 part sugar.
Tools you may need
This post contains affiliate links, for which a small commission is earned at no extra cost to you. Learn more
Silicone Canning Jar Lifter and Funnel
Cooking Instructions for making Easy Elderberry Jelly Recipe
1. Prepare the Elderberries
Start by removing the elderberries from their stems. Ripe berries come off easily with the help of a fork. Take a look at the video tutorial below too.
Pick through them carefully and discard any leaves, stalks, and unripe or damaged berries.
Give the berries a good rinse under cold water.
Important: Raw elderberries should not be eaten. They need to be properly cooked before consumption.
2. Mix the Sugar
Mix the jam sugar into the berries and set it aside for 30 min. This process releases the juice from the berries.
3. Cook the Berries
Place the fresh elderberries mixture in a large saucepan and add enough water to help them cook without sticking to the bottom of the pan.
Bring everything to a boil, then reduce the heat and simmer until the berries have softened and released their dark purple juice.
Give the berries an occasional stir and gently crush them with a spoon to help release the juice.
4. Strain the Juice
Pour the cooked berries into a jelly bag or a fine sieve lined with clean muslin or cheesecloth.
Leave the berries to drain naturally into a clean bowl or jug.
For a beautifully clear jelly, resist the temptation to squeeze the bag. The more you press it, the cloudier your finished jelly may become.
5. Cook the Jelly
Place the elderberry juice and jam sugar mixture into a large, clean saucepan.
If you like a slightly brighter, tangier flavor, add a small amount of fresh lemon juice.
Be watchful and take a large pot as this jelly tends to overflow quickly.
6. Bring to a Boil
Turn up the heat and bring the mixture to a rapid boil.
Stir regularly and keep a close eye on the pan, as the mixture can bubble up quickly.
7. Check the Set
To test whether the elderberry jelly is ready, place a small plate in the freezer before you start cooking.
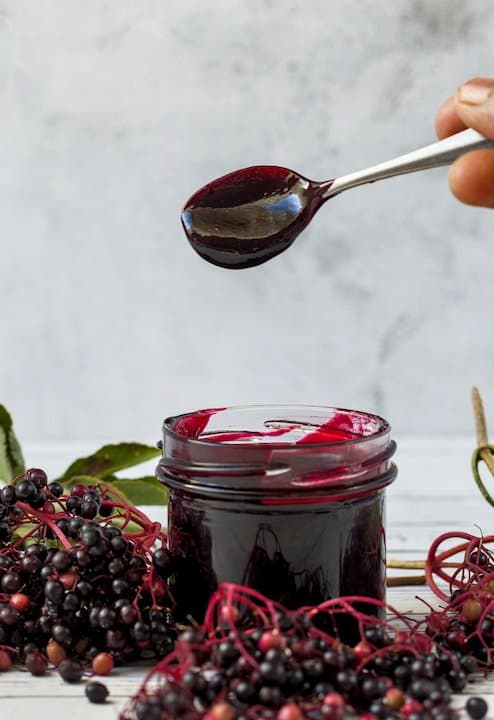
When you think the jelly is ready, put a teaspoonful onto the cold plate and allow it to cool for a few seconds. Push your finger gently through it. If the surface wrinkles slightly, the jelly should be ready.
If it is still very runny, continue boiling and test again.
8. Fill Your Jars
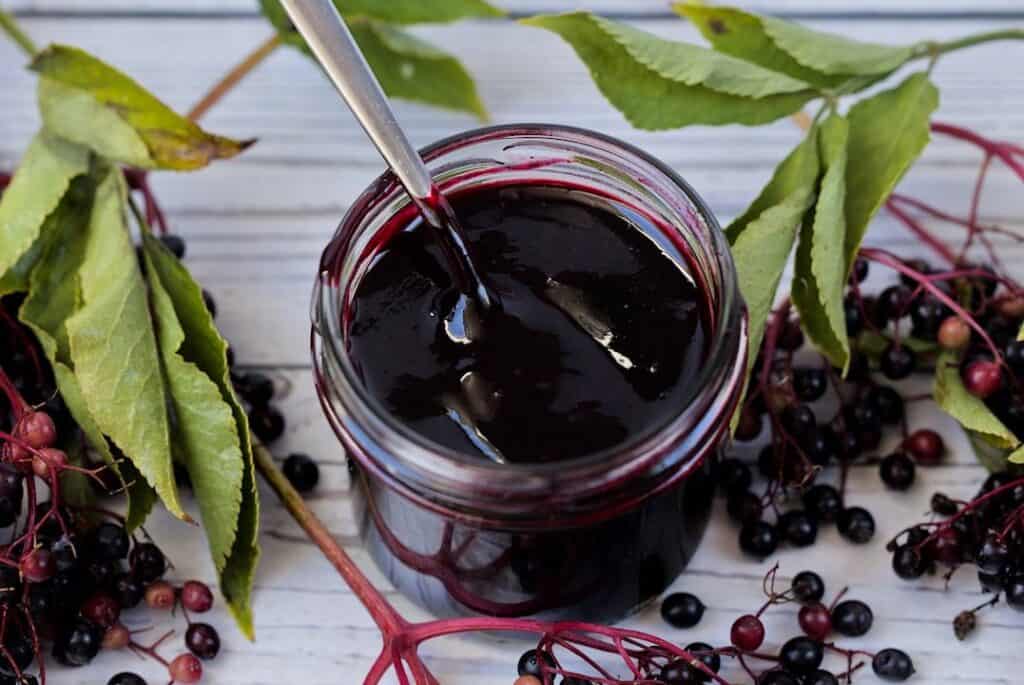
Carefully ladle the hot elderberry jelly into clean, hot sterilized jars.
Wipe the rims, seal with the lids, and allow the jars to cool according to your usual preserving method.
Once cooled, label the jars with the date and store them according to safe home-preserving guidance.
Serving Suggestions for Elderberry Jelly
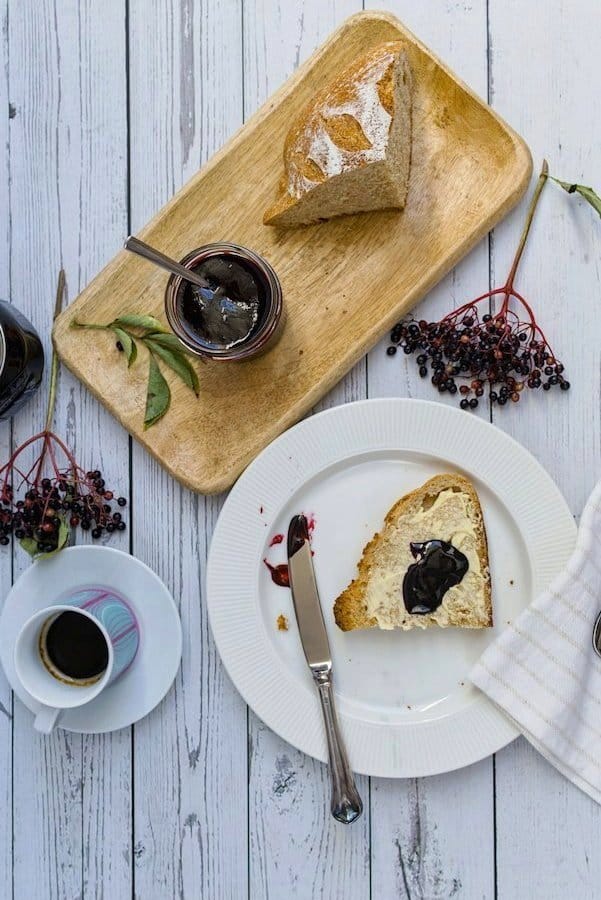
This homemade jelly is delicious spread thickly over warm toast with butter. It’s also wonderful on freshly baked scones, pancakes, waffles, or crusty homemade bread.
For something a little different, try serving a spoonful alongside a mild cheese. The combination of sweet elderberry jelly and creamy cheese is absolutely delicious.
Tips for Making Easy Elderberry Jelly Recipe
Choose ripe elderberries. The berries should be dark and fully ripe for the best flavor and color.
Remove as many stems as possible. A few small stems may be difficult to remove, but it’s worth taking your time during preparation.
Don’t rush the straining process. Allowing the juice to drip through naturally gives you a clearer jelly.
Use the instructions on your jam sugar packet. Jam sugar products vary, so the recommended sugar-to-fruit or juice ratio and boiling time can differ between brands.
Use a large saucepan. Jelly can foam and rise dramatically while boiling, so a larger pan makes the process much easier and safer.
Can I use fresh elderberries to make jelly?
Yes! Fresh elderberries are perfect for making homemade jelly. Remove the stems and any unripe berries before cooking.
Do elderberries need to be cooked?
Yes. Elderberries should always be thoroughly cooked before eating. Do not eat raw elderberries.
Can I use jam sugar for elderberry jelly?
Yes. Jam sugar works well for elderberry jelly. Follow the instructions and recommended ratio on your particular packet of jam sugar.
Why is my elderberry jelly not setting?
The jelly may need a little more cooking time, or the sugar-to-juice ratio may not be correct. Follow the instructions on your jam sugar packet and use a chilled-plate test to check the set.
Can I freeze elderberries before making jelly?
Yes. Fresh elderberries can be frozen and used later. Thaw them before cooking and continue with the recipe as usual.
How should I store homemade elderberry jelly?
Store properly sealed jars in a cool, dark place following safe home-preserving guidance. Once opened, keep the jelly refrigerated.
What can I serve with elderberry jelly?
Elderberry jelly is delicious on toast, fresh bread, scones, pancakes, and waffles. It also pairs beautifully with mild or creamy cheeses.
Watch Easy Elderberry Jelly Recipe Video
Pin it
Always cook elderberries thoroughly before eating.
Use the instructions on your jam sugar packet, as sugar ratios and cooking times can vary between brands.
For a clearer jelly, allow the juice to drain naturally without squeezing the jelly bag.
You can also use a juicer to extract the juice and then cook. I have done both ways.
Store sealed jars according to safe home-preserving guidance and refrigerate after opening.
Ingredients
Instructions
Notes
